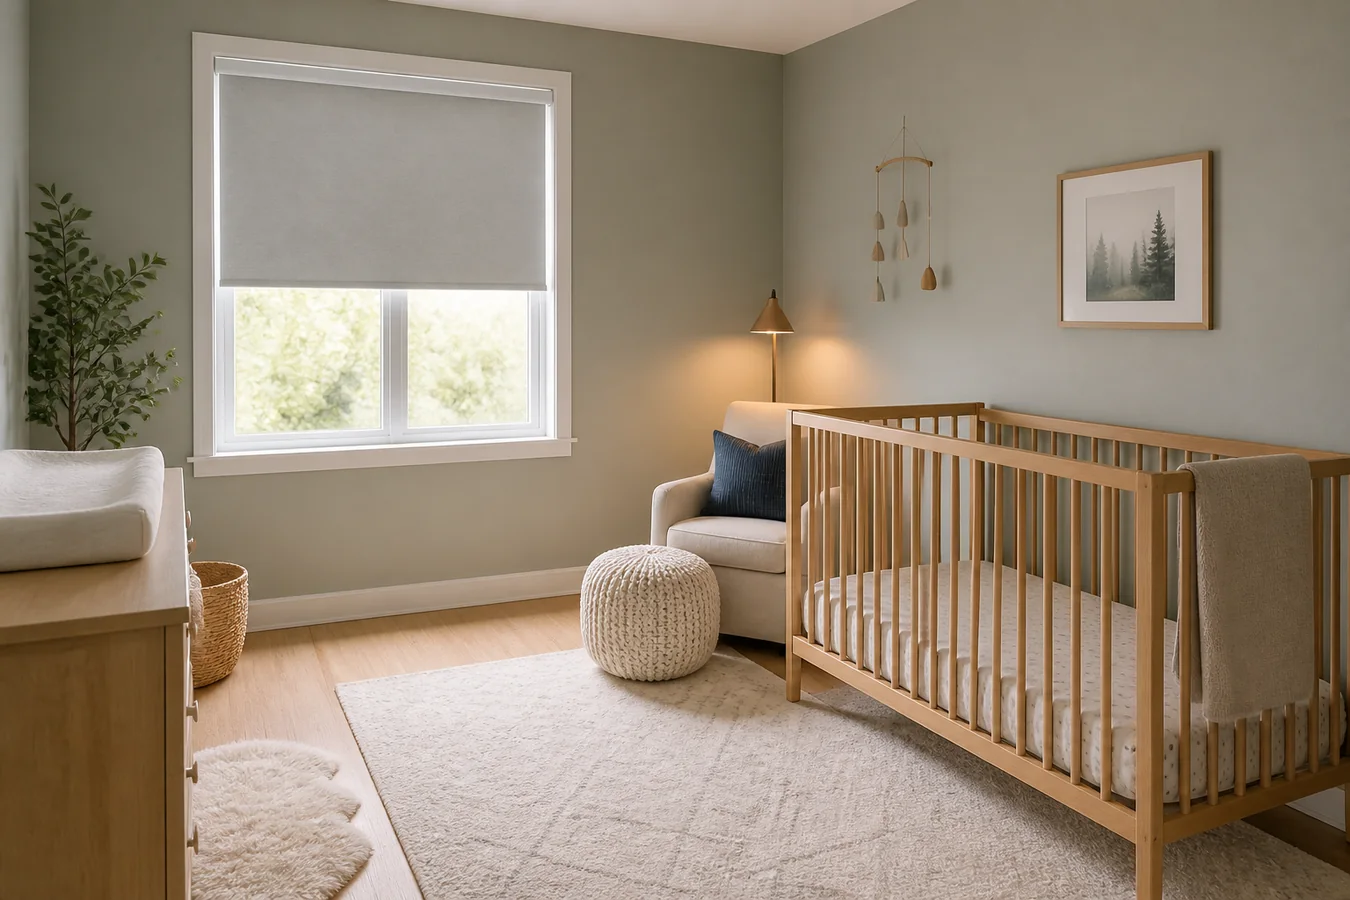
A nursery window treatment is not ready because the swatch says “blackout.” The first decision is where the crib, changing furniture, toys and future climbing routes sit in relation to the window and every part of the covering.
Start by moving the crib and climbable furniture away from the window, then choose a current cordless completed product whose coverage and controls work for morning, naps, caregiver visits and ventilation. Motorization can make daily operation easier, but the word “motorized” does not prove safe reach, quiet movement, darkness or a workable service path.
Put the crib zone ahead of the fabric
The US Consumer Product Safety Commission says cordless window coverings are the safest option where young children are present. Its guidance also tells caregivers to move cribs, beds, furniture and toys away from windows and window-covering cords, preferably to another wall. That makes the room layout a buying input, not an afterthought.
Draw the window, crib, changing table, chair, toy storage and door swing on one page. Mark anything a child could climb or pull. Then mark the control, charging point, battery door, wand, chain tensioner, bottom rail and any loose fabric in the proposed configuration. A current product can be described as cordless and still deserve a completed-product review: the final installation, not a category label, is what occupies the room.
If the layout cannot keep the crib and climbable furniture away from the window, change the furniture plan before comparing shade styles. Do not invent a universal safe distance from an online article. Use the room, the product instructions and current safety guidance to remove reachable hazards.
Make the window work through four nursery states
| Room state | What the window must do | What to observe | Hold the order when |
|---|---|---|---|
| Morning and play | Admit useful daylight without putting direct glare or heat on the occupied floor zone. | The actual sun path, the play area and whether partial positioning is repeatable. | The only proposed states are fully open and fully closed. |
| Nap | Reach the room’s real darkness target without unsafe temporary coverings. | The material, top, bottom and side edges at the nap time that matters. | “Blackout” describes only the fabric and no finished coverage is shown. |
| Caregiver at night | Provide outside privacy while allowing quiet, simple operation if a change is needed. | The view from outside with room lights on, motor or mechanism noise and control location. | Privacy is inferred from a daytime swatch or the control requires reaching over the crib. |
| Cleaning and ventilation | Leave the sash, lock, screen, shade and power source serviceable. | Fully raised position, handle clearance, fabric care rule and charging/battery access. | Routine access moves furniture back into the protected window zone. |
This table may point to one shade, two independently controlled layers or a revised room plan. It does not require motorization. A well-specified manual cordless shade can be the simpler answer when its daily control remains accessible to the caregiver and outside the child’s reach.
Keep ventilation separate from shade performance. The window lock, screen, opening limit and any required emergency route have their own instructions. A covering should not make a caregiver improvise around those parts, and it should never be treated as a window guard.
Coverage is a drawing, not a fabric adjective
Blackout material addresses light through the face. A finished nursery still has light paths around the material, at the headrail, near trim and through other room openings. Decide what “dark enough” means in this room: removing a bright beam from the crib is a different task from making the whole room nearly dark at midday.
Ask for the finished shade width, the material width, expected edge gaps and fully lowered position. An outside mount may add coverage but must have a sound mounting surface and must not interfere with trim, handles or safe window operation. An inside mount may look contained but can leave product-specific gaps and consume depth. Record the opening and obstructions in the Smart Shade Measurement and Compatibility Checker before accepting either route.
Test a sample at the window, not flat on a table. Look at it with strong daylight behind it and again after dark from outside while the room light is on. If a Roman construction remains in the comparison, the separate blackout Roman shade light-path audit explains why liner, seams and perimeter must be specified together. For a broader darkness plan, use the room blackout and edge-gap guide.
The control must remain safe when the room changes
Nurseries do not stay frozen. A newborn’s room can become a toddler’s climbing environment. A chair moves. A toy box appears. A charging cable that was unreachable becomes interesting. Review the full room again whenever furniture or use changes.
For US products, confirm the exact model and operating system against current instructions and safety information. CPSC’s cordless window-covering guidance is the practical starting point, while its window-covering business guidance explains why stock and custom operating-cord requirements need exact product context. This page is a planning aid, not a substitute for those instructions.
For a motorized option, ask what moves after a power or control failure, whether physical movement is permitted, where charging or battery access occurs, and whether a wall control can handle the routine states without a phone. Do not pull a stalled shade unless the named system explicitly permits that action. The site’s cordless and motorized child-safety guide carries the full completed-product boundary.
Send one room record, not a mood board
A useful nursery quote should return the exact product, fabric and opacity; inside or outside mount; ordered and finished coverage; control type; any accessible cords or loops; fully raised position; power and service access; and the manufacturer’s current measurement, installation and care instructions.
Attach your four room states and the crib-zone drawing. Ask the seller to mark where the covering, controls and service actions sit in each state. If a field is unknown, keep it unknown rather than replacing it with “child-safe,” “blackout” or “smart.”
The broader smart-shades room planner can coordinate the nursery with the rest of the home. For this room, however, the sequence stays strict: protect the crib zone, prove the completed control, then decide how much light the finished window must remove.