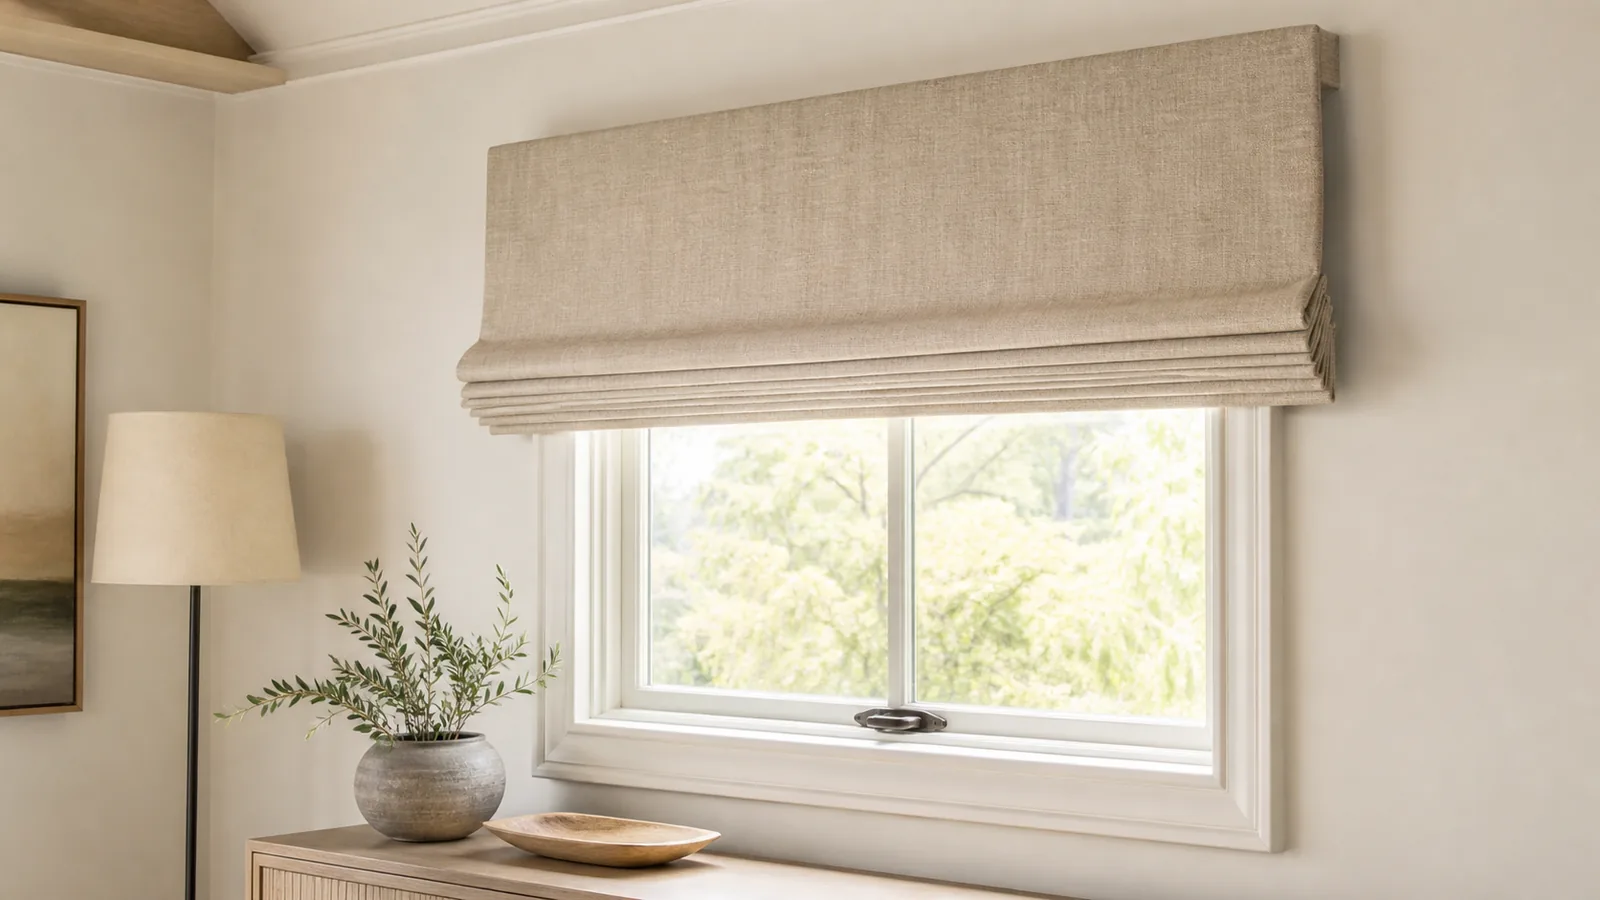
Outside mount Roman shades are easy to approve in a flat drawing—and easy to regret once they occupy the room. Extra fabric can cover trim and reduce the exposed area around the opening. The same choice also moves the shade toward the room and leaves a folded stack above the glass when raised.
Before submitting an order width, draw the finished shade as a box around the real window. Include the headrail, fabric, mounting surface, projection, raised stack and bottom edge. If the seller cannot tell you one of those dimensions for the exact style and control option, the mount is not ready to order.
One Roman shade can have three different widths
The window opening, the outside edge of the trim and the ordered shade width are three separate measurements. The headrail and the fabric may add another distinction: on some products they finish at different widths. A front-view mockup that shows only one rectangle can therefore hide the very side gap you were trying to fix.
Retail measuring guides also show why there is no universal overlap number. Blinds.com currently suggests adding two to three inches per side when there is no trim and says an outside-mount Roman shade is made to the specified size. SelectBlinds currently recommends at least two inches per side and lists an approximate flat-surface requirement for its Roman shades. Those are useful examples, not interchangeable instructions. Follow the current guide for the exact product you are ordering. Read the Blinds.com Roman measuring guide and compare the SelectBlinds instructions.
| Dimension on the drawing | What it controls | Question for the seller |
|---|---|---|
| Opening width | The glass and frame area that needs to be covered | Is this measurement used only as a reference, or does it drive the order width? |
| Trim-to-trim width | Whether the shade lands on the casing, clears decorative edges or must move onto the wall | Where can the brackets sit on this exact trim or wall? |
| Headrail width | Bracket position, visual centering and interference with nearby windows or cabinets | Is the ordered width the finished headrail width? |
| Fabric width | The actual edge coverage when the shade is lowered | How much narrower or wider is the fabric than the headrail for this configuration? |
Centering matters after those widths are known. Equal overlap on both sides usually looks deliberate, but a handle, wall return or adjacent window may force an offset. Do not hide that offset in the order. Put it on the drawing and confirm what the uncovered side will look like.
The raised shade still occupies the window
A Roman shade does not disappear into a tube. Its folds collect into a stack. Mounting the shade higher can move more of that stack above the glass, but it also changes the ordered height, the visual position of the headrail and the wall area needed for brackets.
The stack is product-specific. A current LEVOLOR technical guide sold through Lowe’s, for example, lists different approximate stack heights by shade drop, fold and control type, and notes a tolerance around those figures. The same guide gives different extension-bracket projection ranges for motorized and non-motorized configurations. The useful lesson is not to copy those numbers into another brand’s order; it is to ask your supplier for both the raised stack and wall projection of the exact configuration. See the named Roman shade technical example.
Mark the bottom of the fully raised stack on the wall elevation. Then open the window, turn the handle and stand at the normal viewing position. A stack that clears the glass on paper can still crowd a transom, cover attractive trim or sit awkwardly close to the ceiling.
If motorization is part of the plan, the fabric stack must also leave access to the charging point, battery compartment or service position. The motorized Roman shade guide covers the fold, fabric, motor and service questions that remain after the mount is chosen.
Trim can support the shade—or push it into the room
Outside mount may mean brackets on flat casing, on the wall above the casing or at the ceiling. Those placements are not equivalent. Flat casing can provide a convenient face, while sculpted molding may give a bracket too little contact or force the headrail to stand farther forward. Wall mounting above proud trim can require enough projection for the shade to pass the trim without rubbing.
Check the full path of the fabric, not only the bracket. Include crank handles, lever locks, alarm sensors, deep sills, furniture, backsplash edges and inward-opening windows. A handle that clears the lowered fabric may still catch a fold during travel. A console or faucet below the window may limit how far the shade can descend.
If the general mount choice is still unsettled, use the inside-versus-outside mount comparison first. This page assumes outside mount is a serious candidate and focuses on whether a Roman shade’s finished envelope fits that choice.
When the extra coverage is worth it
Outside mount earns the additional bulk when it solves a real constraint that an inside mount cannot solve cleanly:
- The recess is too shallow or obstructed. Moving the hardware outside can remove the inside-depth problem, provided the new mounting surface and projection work.
- More edge coverage is needed. Deliberate side and top overlap can cover more of the opening, although fabric opacity and perimeter gaps still determine the finished light result.
- The trim or opening is visually uneven. A centered outside-mounted shade can create a cleaner outer line, but only if its headrail and fabric dimensions support that line.
- A second treatment will sit inside the recess. Layering can separate daytime glare control from the softer Roman shade, provided both treatments have room to move and be serviced.
The Shade Store’s current overview illustrates the same broad advantages—additional coverage, trim coverage, layering and the option to mount high enough for the raised material to clear more glass. Its examples are design possibilities, not a guarantee for another product or window. Review the outside-mount Roman shade examples.
Outside mount becomes a poor trade when wall space is narrow, neighboring windows need tight alignment, cabinets or art occupy the side overlap, or the only workable bracket position leaves the shade too far into the room. In those cases, reducing overlap to make the drawing fit can defeat the reason for choosing outside mount.
Make a five-line drawing before asking for price
A useful order sketch does not need interior-design software. Draw the wall straight on, add one side view, and label these five lines:
| Line | Put this on the sketch | The choice it closes |
|---|---|---|
| 1. Finished width | Headrail width, fabric width and left/right overlap | Coverage, centering and neighboring clearances |
| 2. Mounting height | Top of headrail, bracket surface and available flat area | Whether the hardware has a real home |
| 3. Raised-stack bottom | Lowest point of the folds when fully raised | How much glass and trim remain covered |
| 4. Projection | Wall-to-headrail and wall-to-fabric distance in side view | Trim, handle, sill and furniture clearance |
| 5. Finished drop | Where the bottom lands relative to sill, apron or wall | Bottom coverage and interference below the window |
Use the Smart Shade Measurement and Compatibility Checker to capture the opening, depth, trim and obstructions before transferring the final fields to the seller’s form. For a custom order, also review the custom-size ordering mistakes that can turn one unchecked field into a nonreturnable problem.
Make the quote describe the shade you drew
The quote should identify the Roman style, fabric and liner, control type, mount, ordered width and height, finished headrail and fabric widths, bracket location, projection and approximate raised stack. It should also state whether the factory changes any submitted dimension. Keep the seller’s current measuring guide with the quote so the order can be checked against the rules that actually applied.
Do not approve the order from a room photo or a single “outside mount” label. Approve it when the finished shade fits the front view, the side view and the fully raised view. If the extra coverage solves more than the projection and stack create, the bulk is doing useful work. If the drawing depends on the headrail and fabric being the same width—or on the stack somehow disappearing—the order still has an unanswered question.