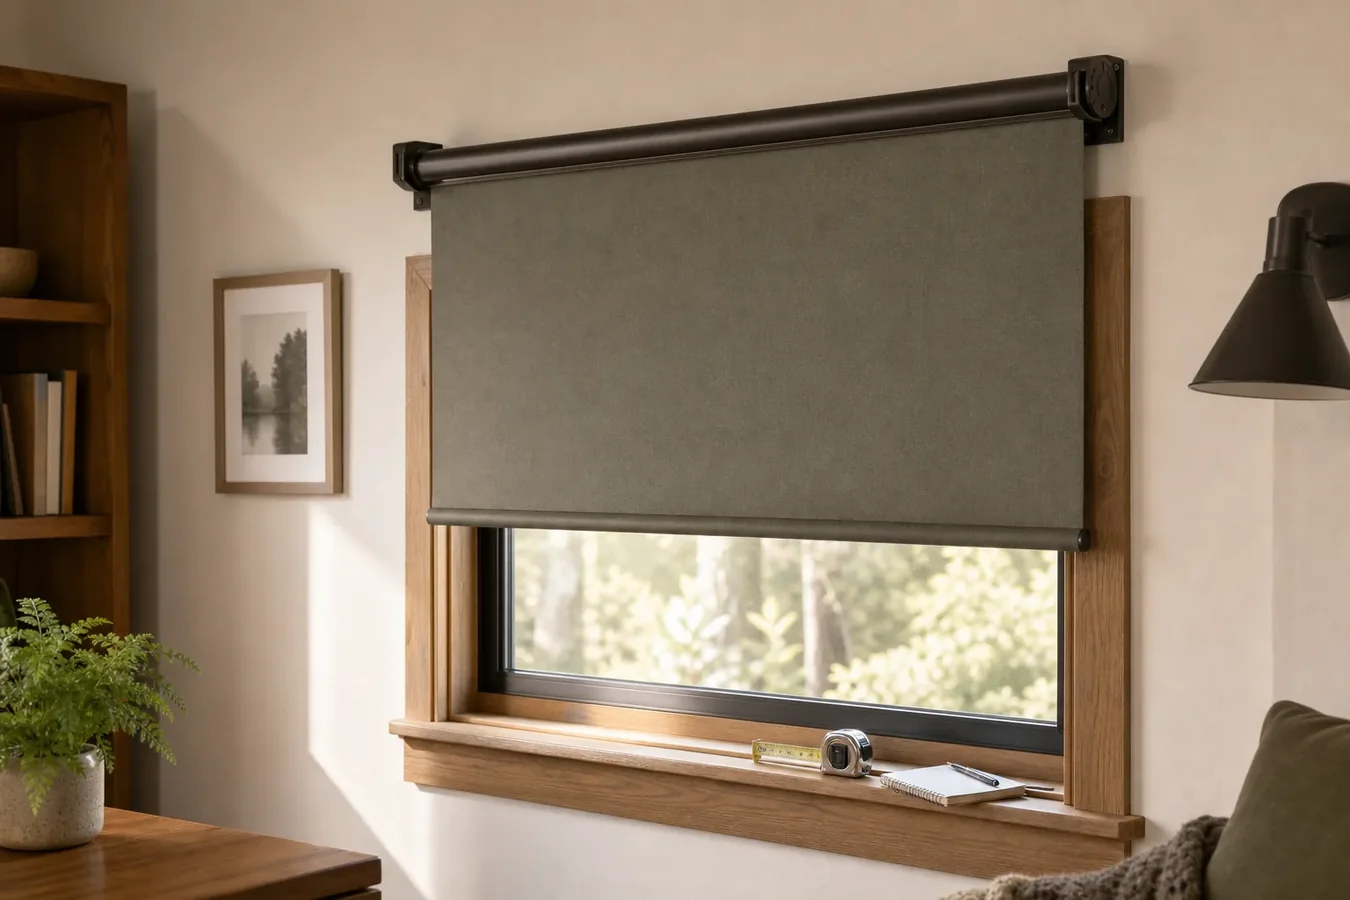
The most dangerous measurement on an outside-mount roller shade is the one the checkout labels Width. Depending on the seller, that number may describe the full shade from bracket to bracket—not the fabric that actually covers the window.
That difference is not a technical footnote. Center a 40-inch roller over a 40-inch opening and the cloth can still stop short of the edges, even though the hardware is perfectly centered. The safer approach is to mark where the fabric should land first, then make the supplier translate those fabric edges into the correct order width for the exact system.
Draw the fabric first
Put down the configurator and look at the wall. Mark the left and right edges that the fabric needs to reach. Do the same at the top and bottom if the shade must cover trim or run behind furniture.
Those marks should answer the room problem, not follow a standard overlap rule. A decorative roller in a quiet upstairs room may only need to cover the glass neatly. A street-facing bedroom may need more side coverage. A shade beside a cabinet or a return wall may not have equal space on both sides.
Use the Smart Shade Measurement and Compatibility Checker to record the opening, trim and obstructions, then add this fabric-first layer to the drawing:
| Put this on the front view | Why it belongs there |
|---|---|
| Left and right edges of the opening | The physical reference the shade must cover |
| Outer edges of the trim | Shows whether the cloth crosses flat wall, raised casing or both |
| Desired left and right fabric edges | Defines the result you are buying before hardware is introduced |
| Available flat mounting area above the opening | Shows where the brackets or cassette could actually sit |
| Nearest corner, cabinet, handle or wall return | Prevents a wide bracket or motor head from landing in occupied space |
| Preferred control/service side | Keeps a chain, cable, charger or reset point usable |
Do not force the drawing to be symmetrical. If the window sits close to a wall on one side, the best coverage may be offset. The fabric is the visible and functional part; the tube is only its carrier.
If outside mounting itself is still undecided, settle that first with the inside-versus-outside mount guide. This page begins after the outside-mount path already makes sense.
The order-width number is supplier-specific
There is no safe site-wide answer to “How many inches should I add?” Current measuring guides do not even use one shared relationship between desired cloth width and ordered width.
Blinds.com’s roller-shade guide tells outside-mount buyers to determine the desired fabric width, then add width for the brackets; its current method adds three inches to the desired cloth width. Eclipse’s roller-shade PDF says the fabric for that product family is approximately 1⅜ inches narrower than the ordered width. A current OmniaBlinds smart-roller guide publishes yet another bracket-to-fabric difference for its system.
Those figures are useful for one reason: they prove the difference is product-specific. They are not three estimates to average.
| What a seller may call “width” | What you still need returned on the quote |
|---|---|
| Overall shade or bracket-to-bracket width | Actual finished fabric width and both fabric-edge locations |
| Fabric width | Overall bracket, tube, fascia and cassette width |
| Ordered width with no factory deduction | Which finished component equals the submitted number |
| Nominal product size | Every actual finished dimension; a nominal label cannot approve the opening |
Send the supplier your desired fabric-edge marks and ask: “What order width produces these finished fabric edges in this exact configuration?” If the answer only repeats the number you entered, it has not closed the measurement.
This matters even when a retailer says it makes no outside-mount deduction. American Blinds’ current roller-shade instructions state that the specified outside-mount size is made without a factory deduction in its process. You still need to know whether that specified size describes cloth, tip-to-tip hardware or another finished reference.
Solve the side view before choosing the roll
The front view proves coverage. The side view proves that the roller can occupy the wall without hitting the trim or hanging farther into the room than expected.
Draw a simple slice through the top of the window. It does not need to be architectural. Label the wall face, the proudest part of the trim, the proposed bracket plane, the finished tube or cassette, and the fabric plane. Add a handle, crank or door swing if it enters that space.
Raised casing is where otherwise sensible orders go wrong. A bracket fixed to the wall above the trim may hold the fabric behind the face of the casing, so the cloth rubs or cannot hang freely. Moving the roller outward may clear the trim, but it also increases projection and can make the headrail more conspicuous. Spacer blocks or extension hardware may exist for a particular system; the exact product instructions and mounting surface decide whether they are appropriate.
Roll direction changes the silhouette. With a regular roll, the cloth commonly drops from the back of the tube, closer to the window. A reverse roll brings it over the front, which may clear an obstruction but places the fabric farther into the room. Not every shade offers both directions, and a cassette or fascia may restrict the choice. Treat roll direction as a quoted configuration, not an installer improvisation.
The Shade Store’s current roller-shade guide shows why outside mount is not one location: its products may mount on the wall or, in suitable configurations, the ceiling. The useful question is not simply “outside or inside?” It is “At which plane will these exact brackets sit, and where will the finished cloth hang?”
A motor can make the two sides unequal
A manual roller already has a control side. A motorized roller can add a drive head, power lead, charging connection, reset/program button or removable battery path. That does not automatically make the shade much wider, but it makes left and right operationally different.
Before choosing “motor left” or “motor right,” look beyond the window:
- A return wall can block access to a recessed button or charging lead.
- A tall cabinet can make one side impossible to service without removing furniture.
- A nearby outlet may favor one side, but the approved power lead and routing still belong to the exact motor instructions.
- Two adjacent shades can leave too little room between their control heads even when the fabrics fit.
- A door or window handle may clear the cloth but collide with the bottom bar or projected cassette.
Ask the quote to identify the drive side and the service action—not just “motorized.” A useful note is: “Charging/reset is reachable from the room with the shade installed.” If the product uses another service method, name that instead.
Do not assume the fabric is centered inside the overall hardware. A control end and an idle end can have different offsets. The returned drawing should show the left fabric edge and right fabric edge separately. That is especially important when one side of the opening has much less overlap available than the other.
Coverage still has to solve the room
A wide outside mount usually gives you more control over the fabric edges than a tight inside mount. It does not, by itself, promise darkness, privacy or glare control.
For a bedroom, the remaining gaps at the top, sides and sill have to match the sleeper’s tolerance and the room’s light sources. Work through that room test in the motorized blackout shades guide instead of relying on the fabric label.
For a living room or office, a filtering fabric must still behave well from the actual seat and after the lights come on. The light-filtering roller shade guide covers the sample test. Extra overlap cannot fix a fabric that produces the wrong glare, view-through or nighttime privacy.
Roman shades use a different raised package and projection problem. If you are comparing mechanisms rather than only rollers, the outside-mount Roman shade guide shows why its stack should not be measured like a roller tube.
Make the seller return the drawing
A quote is ready when it can answer two pictures of the same opening.
On the front view, label the ordered width, overall hardware edges, actual fabric edges, opening and trim. On the side view, label the bracket plane, fabric plane, finished projection, roll direction, fascia or cassette, and the nearest obstruction. Add the control side and the exact place used for charging, reset or service.
Then read the quote from the cloth outward:
- Do the finished fabric edges reach the marks you placed on the wall?
- Does the hardware fit the available flat mounting area without crowding a corner or adjacent shade?
- Does the fabric hang clear of raised trim, handles and sills through its full travel?
- Is the selected roll direction actually offered with the chosen fascia, fabric and motor?
- Can the control side be used and serviced after furniture and window hardware are in place?
- Do the finished gaps solve the room’s real privacy, darkness or glare task?
If the supplier can return those values, the order width finally means something. If it cannot state the finished fabric width and edges, do not repair the ambiguity with a bigger guess. Keep the wall marks, change the configuration or choose a seller that will show what the shade will cover.