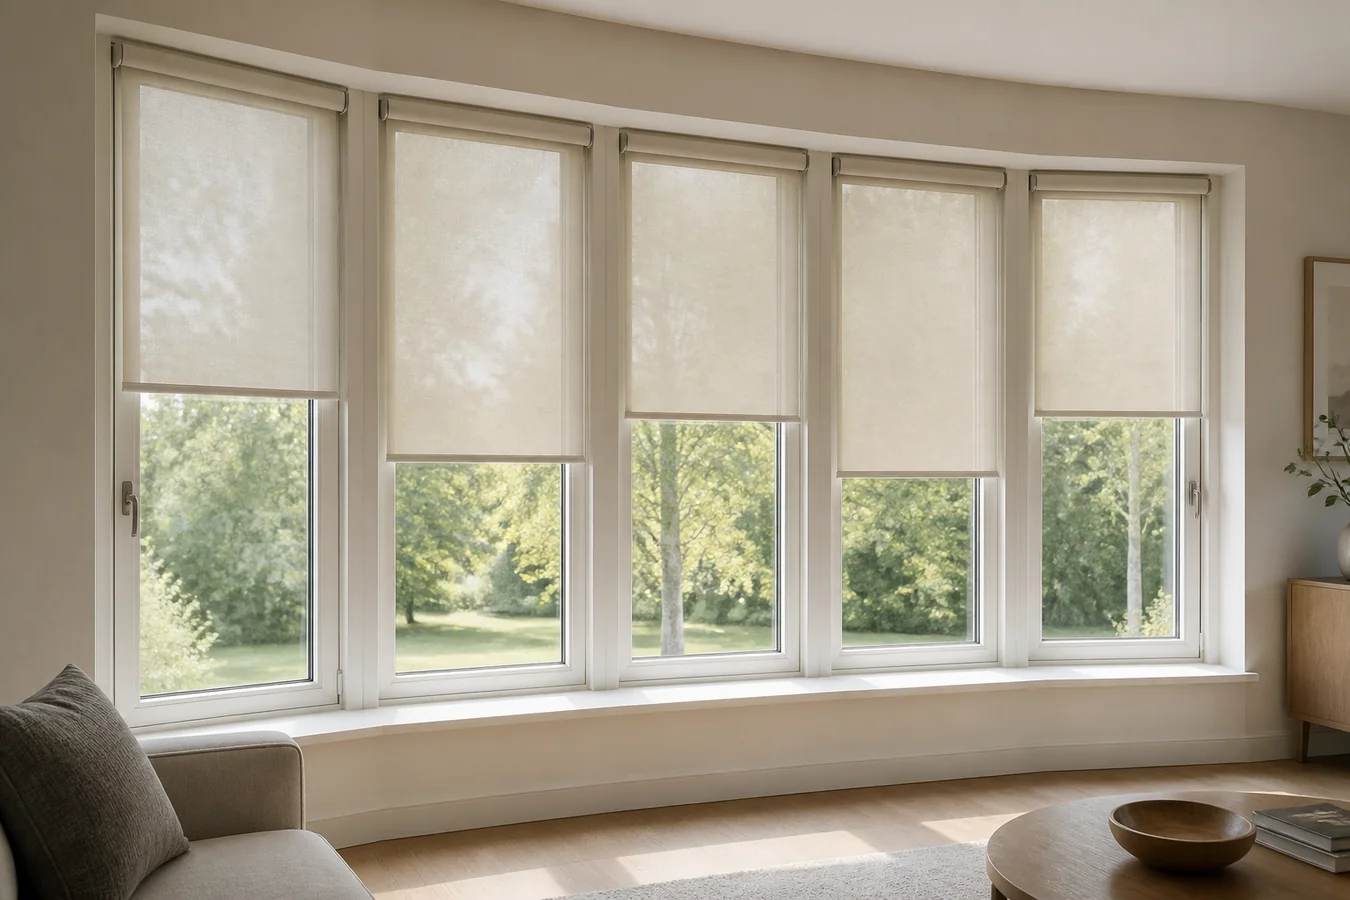
A bow window multiplies one small fitting error at every joint. A headrail that projects too far may clear the first neighbor but collide farther around the arc. A narrow light gap that looks harmless once can become a bright repeated pattern. Five independently operable windows can also turn one neat control idea into five awkward service points.
Treat the bow as a connected set of straight window units, not as one curved opening. Marvin’s window glossary describes bow windows as adjoining units installed on a radius. Blinds.com’s bow-window guide distinguishes the usual four-or-more-unit bow from a three-section bay. That geometry changes the buying task: every segment and every shared joint needs an answer before the order is released.
Name the arc before you choose the covering
First decide whether the openings behave independently. Deep mullions, drywall returns or substantial trim between the windows may give each unit its own mounting area. In that case, separate treatments can often be planned almost like neighboring ordinary windows. A shallow connected bow is less forgiving. The treatments share sightlines and their headrails, fabric, slats or louvers approach one another at every change in direction.
Count the real window units from left to right and call them S1, S2, S3 and so on. Then name the shared joints J1, J2 and onward. These labels belong on the room drawing, the measurement sheet and the quotation. “All sections are the same” is not enough: an end unit may have different trim, a crank, a power route or an opening sash that the middle units do not.
Also record what the room needs from the complete arc. Privacy may require every segment to close together, while glare may affect only two facets at a particular hour. A street-facing bow may need a calm exterior appearance even when the shades operate independently. The site’s large-window motorized-shade planning guide helps define coverage, stack, power and control expectations; the bow still needs its own repeated-joint proof.
Give every segment a card and every joint a line
| Record unit | What to capture | Decision it controls | Hold the quote when |
|---|---|---|---|
| Whole arc | Segment count, left-to-right order, room-side radius, desired visual alignment and the privacy or light result | One treatment per segment, operating zones and the intended relationship between all units | The proposal shows a representative window but no complete arc |
| Segment card | Opening, trim, flat mounting surface, substrate, obstructions, exact product projection and raised stack | Mount type, finished-size authority, bracket location and product eligibility for that unit | One segment’s depth, substrate or obstruction is assumed from another |
| Joint line | Angle or physical template, both adjacent product profiles, fabric or slat path, intended reveal and ownership of the gap | Whether neighboring treatments clear, overlap appropriately and produce an accepted light line | Only the glass angle is shown or neither adjacent treatment is assigned to the joint |
| Movement card | Sash, screen, crank, handle, lock, cleaning access and treatment travel at raised, moving and closed positions | Usable window operation and safe access after installation | The fit is proved only with the windows and treatments stationary |
| Control and service zone | Grouping, local control, power or battery access, motor removal path and the behavior when one treatment is unavailable | Whether separate treatments feel coordinated without becoming impossible to maintain | “One-button control” is promised without a power and service plan for every unit |
Use the Smart Shade Measurement and Compatibility Checker to preserve field measurements and obstructions. Keep those records separate from finished order sizes. Custom-product deductions, allowances and maximum dimensions belong to the selected manufacturer’s current instructions or to an authorized measurer. If a segment lacks enough flat depth, compare the real trade-offs in the inside-versus-outside mount guide before moving hardware toward the room.
A product profile—not the glass angle—sets the meeting point
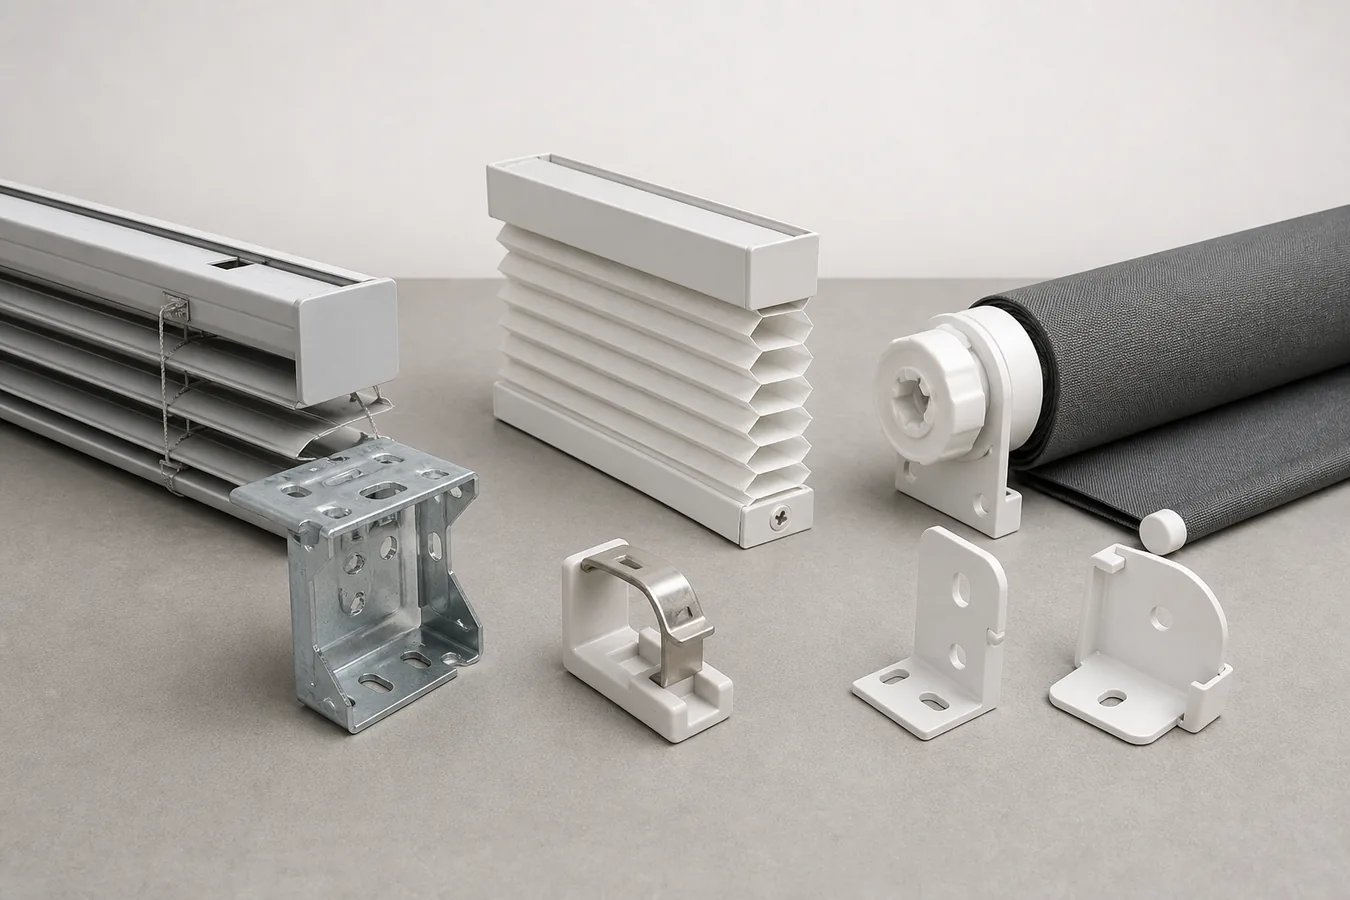
The visible angle between panes does not reveal where two treatments will meet. Brackets may move the headrail toward the room. A cassette, fascia, valance or motor end can project beyond the fabric. A roller shade’s cloth can be narrower than its hardware, while a blind’s slats and tilt mechanism occupy a different envelope. The joint must be tested with the exact proposed product profile on both sides.
Blinds.com’s current bay and bow measuring guidance recommends using the selected product’s depth and a cardboard template to find adjacent collision points. The useful principle is not a universal dimension; it is that the real treatment envelope determines the intersection. Repeat that test at J1, J2, J3 and every remaining joint. Do not approve the whole bow because one middle pair happens to clear.
At each joint, record the intended result as well as the clearance. Two separate roller shades may need a visible fabric gap even when their headrails nearly meet. Blinds or cellular shades may present different edge profiles. If reducing one light line makes the next headrail collide, the supplier should show the trade-off across the complete arc rather than quietly moving the problem one segment over.
The bay-window blind guide covers the two-corner logic of a typical bay. A bow extends that risk through a longer chain: the acceptable choice at the left end must still leave workable products, gaps and window access at the right end.
Choose the number of treatments deliberately
One treatment per window unit is the clearest starting point. It follows the straight mounting planes, permits individual fit and lets one sash or one shade be used without moving the rest. Norman’s bow-window overview shows blinds, shades and shutters fitted to individual units and notes motorized operation as an option. Treat those as families to investigate, not as proof that every model fits this bow.
Fewer treatment units can be attractive, but only when one approved product can span multiple facets without forcing hardware or fabric across an unsupported change in plane. A conventional straight roller tube or headrail does not become curved because its fabric is flexible. A continuous drapery treatment may follow a compatible curved track outside the window recess, but it brings stack, return, floor or sill clearance and fabric-volume decisions of its own.
Shutters need equally specific proof. The frame has to meet each facet, while louvers and panels must open without striking the next section, handles or the room. Vertical blinds are usually a poor default for a faceted bow; The Shade Store’s bay and bow overview likewise cautions that they are not ideal for the curved configuration. Use a continuous or specialty system only when its supplier provides the actual curve, support, travel and service details for the opening.
Keep the windows alive behind the shades
Photograph and operate every sash before finalizing the treatment. Casement cranks and handles need hand clearance. Tilt-in sashes need room to release and move. Screens may remove toward the room. A fixed center unit can tolerate a treatment position that would disable an operable end unit, so copy-and-paste bracket positions are risky even when the glass sizes match.
Check three states for each segment: the treatment fully raised, moving, and at its closed limit. Then repeat the window movement that matters. The raised stack must not block a latch or prevent cleaning access. A lowered shade should not be damaged by a handle or an inward-moving sash. If outside mounting is used to escape shallow depth, confirm that the hardware can bridge the trim without creating a new collision at the next facet.
Service is part of window use. A battery wand, charging connector, motor head or removable fascia should remain reachable without taking down neighboring treatments. The left and right end units often deserve extra room because walls, furniture or trim returns can restrict tool access.
Make five treatments behave like one room
Coordinated control can make separate shades feel like one installation without pretending they share hardware. Decide which movements deserve a group command and which need local control. Morning glare might call for S1 and S2 together, while evening privacy might close all five. A wall control can provide a simple room action, but each treatment should still be identifiable for setup, troubleshooting and service.
For motorized products, put the power route for every segment on the arc drawing. Five battery compartments behind tightly packed headrails may be easy to ignore in a rendering and awkward to reach in the room. Wired systems need plausible cable paths that do not cross moving windows or depend on inaccessible junctions. If one shade loses power or leaves the group, the remaining windows should not become unusable.
Visual coordination deserves a specification too. Record roll direction, fabric face, hembar position, slat or cell orientation, headrail height and the exterior-facing color. Small differences repeat across the bow. They can be acceptable—and sometimes necessary for fit—but they should be deliberate rather than discovered after installation.
Approve the arc from left end to right end
The final quotation should include a left-to-right elevation or plan that identifies every segment, every joint and every exact treatment. Trace it in order. Confirm S1’s mount and movement, J1’s two product profiles and accepted gap, then S2 and J2, continuing until the last end unit. Separately confirm grouping, power and the service path for each treatment.
Hold the order if the evidence stops at a typical section, if a product name is missing, if only one repeated joint was tested, or if the windows were never cycled behind the proposed shades. A persuasive room image cannot close those gaps. The bow is ready only when the same whole-arc record reconciles physical fit, window use, light and privacy, controls and maintenance from one end to the other.