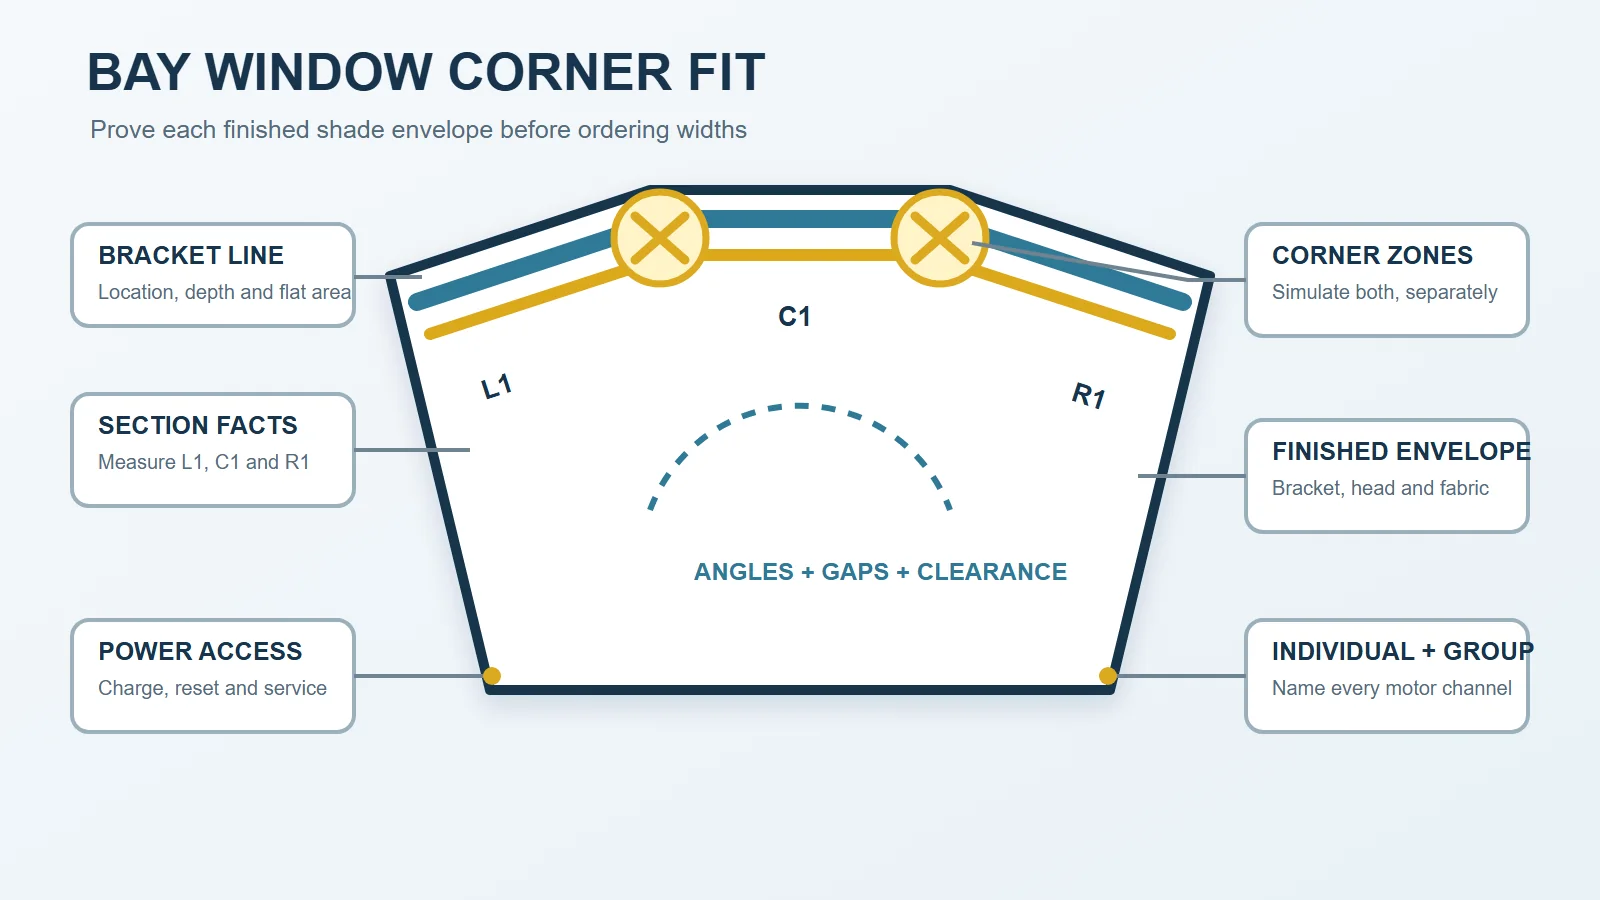
A three-section bay window does not begin with three widths. It begins with two inside corners where finished headrails, cassettes, end caps and controls compete for the same space. If those corners are not solved with the exact product depth, three individually correct measurements can still produce a layout that cannot be installed or operated.
For motorized bay window blinds, freeze the bracket lines first, model both finished-product intersections, and accept the resulting fabric gaps before any seller converts the layout into order dimensions.
Give both corners an owner
| Decision area | Geometry to freeze | Choice the layout must record | Evidence owner |
|---|---|---|---|
| Left inside corner | Left and center bracket lines, included angle, exact finished projection | Where the products intersect and which section yields space | Exact product template/drawing and responsible seller |
| Right inside corner | Center and right bracket lines, included angle, exact finished projection | Where the products intersect and which section yields space | Exact product template/drawing and responsible seller |
| Fabric edges | Fabric position relative to the headrail/cassette and finished side gaps | Accepted corner and perimeter light/privacy gaps | Finished-product drawing and buyer’s room requirement |
| Controls and service | Motor/control end, charging port or battery tube, removal direction | Reachable side and an unobstructed service path | Exact motor/power documentation |
The center section participates in both corners. A decision that makes the left joint clean can move or shorten the center product and change the right joint. Solve the bay as one layout even though the final order may contain three separate shades.
The bracket lines come first
Label the sections left, center and right from the room side. Record the type of bay, each section’s usable mounting plane, the angle at both corners, trim returns, cranks, handles, vents, sill depth and any built-in seat. Mark where the actual brackets—not the glass—can sit.
The Smart Shade Measurement and Compatibility Checker can keep the three sections and their obstructions separate. It does not calculate final bay deductions; those remain with the exact seller and product.
Blinds.com distinguishes bay layouts and uses actual bracket depth to model where adjacent products meet. Bali’s corner and bay guide also treats the sections and controls as product-specific. These sources support the method, not a universal angle formula or deduction.
Keep two records. The layout record describes bracket lines, angles and intersections. The order record contains the widths and heights produced by the exact seller’s instructions after the layout is accepted. Mixing them invites a buyer to apply one brand’s deductions to another product.
Use the exact product as the corner template
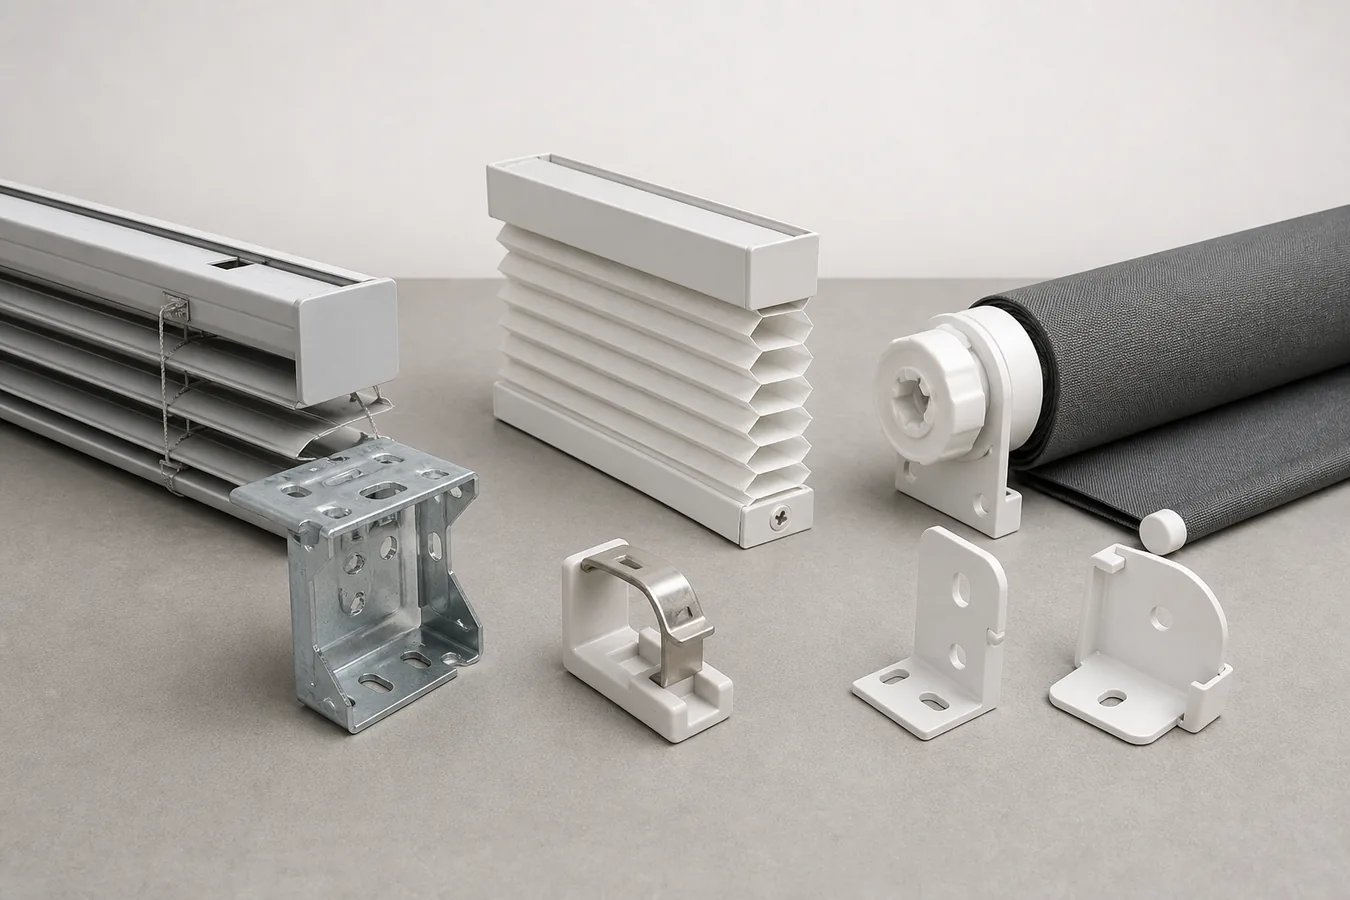
A catalog depth is not necessarily the finished collision envelope. Obtain the headrail or cassette projection, bracket or spacer effect, end caps, motor/control side, fabric position and any charging or battery component near the rail.
Then make rigid paper or card templates at the exact finished depth and place them on the planned bracket lines. Extend the templates into each corner until they meet. LEVOLOR documents a product-depth template method for corner intersections; its measurements remain an exact-system example, especially when spacers or extensions change projection.
Mark the intersection on both bracket lines and identify which section is measured to that point under the seller’s procedure. Repeat independently at the other corner. If the exact cassette, motor end or control end is unavailable, the template is not ready; substituting a slimmer sample headrail can hide the future collision.
Every cleaner headrail corner spends some fabric coverage
Headrails can meet without fabric edges meeting. The material may sit inboard of the cassette, and each independent shade needs operational clearance. Moving the rails apart solves collision but can widen the visible corner gap; extending one product deeper into the corner can protect coverage but interfere with the adjacent rail or control.
Specify the room outcome before optimizing the corner. A glare problem can tolerate a different gap from nighttime privacy or stronger room darkening. Request a top-view drawing that shows both the finished rail edges and the fabric edges. “Blackout fabric” does not describe the two bay corners or the perimeter gaps.
Candidate families such as roller, cellular or Roman shades can all appear in bay-window collections from Hunter Douglas and Graber. The family name does not settle the corner: the exact motorized headrail, stack or roll and fabric offset do.
The center section inherits both corner decisions
Do not measure the center as if it were an isolated window. Its usable span is bounded by the accepted intersection on the left and the accepted intersection on the right. Control/end-cap orientation can also make the two ends asymmetric.
This is why three one-at-a-time quotes are risky. Ask one seller or one accountable planner to return a complete three-section drawing. If different suppliers are involved, designate who owns the shared corner assumptions and ensure both use the same finished envelopes. Otherwise each may optimize its own product while leaving the collision between them unowned.
One shade mounted outside or above the complete bay may avoid the two internal headrail corners, but it creates a different problem: total span, projection, raised clearance, access to the bay and exact product size limits. Treat it as a separate layout class, not a rescue assumption.
Look below the rails
A clean top corner does not prove the shade can travel. Check the lower path for cranks, handles, deep sills, seat cushions, furniture, vents and trim. A Roman fold or cellular bottom rail can occupy different space from a roller fabric, and the exact motorized version may have a different rail from the manual sample.
Use the inside-versus-outside mount guide to define mount plane, usable depth, projection and overlap. Changing from inside to outside mount changes both corner geometry and finished coverage, so it restarts the corner templates rather than merely adding overlap.
If the opening is actually a flat wide window or a sliding door, the relevant constraints are span, stack and passage instead. The sliding-door and large-opening shade guide owns that task.
Three independent motors can share a command
Three shades may receive one group command while still having separate motors, limits, loads and service needs. Record the exact motor and power option for each section, which side holds its charging port or battery component, and how that component can be reached without removing a neighboring shade.
Somfy notes that some motorized systems use a battery tube near the headrail. That placement is a service-space example, not a statement about every motor or bay layout.
Define individual controls before creating a group: left, center and right should each reach their documented open and closed positions without relying on visual synchronization. Then specify the group commands and useful scene positions. If one section has a crank or stronger glare target, it may need a different intermediate stop. A group button should not conceal an unresolved individual limit.
One annotated plan must reconcile all three sections
The order package should show a top view and a front elevation. Label every section, both bracket lines, both corner angles, the exact finished headrail/cassette envelopes, fabric edges, expected gaps, control ends, power/service access and lower obstacles.
Beside each corner, name the product pair that meets there, the intersection method, which section yields space and who accepts the resulting gap. Beside each shade, name the exact motor, power parts, local control and any group/bridge requirement. Keep any missing dimension or unconfirmed behavior visible on the drawing.
Start with the most difficult corner and make the finished headrails, gaps, projections, controls, and service paths fit there. Once that junction works on paper and at the window, the rest of the bay becomes a repeatable layout instead of a collection of guesses.