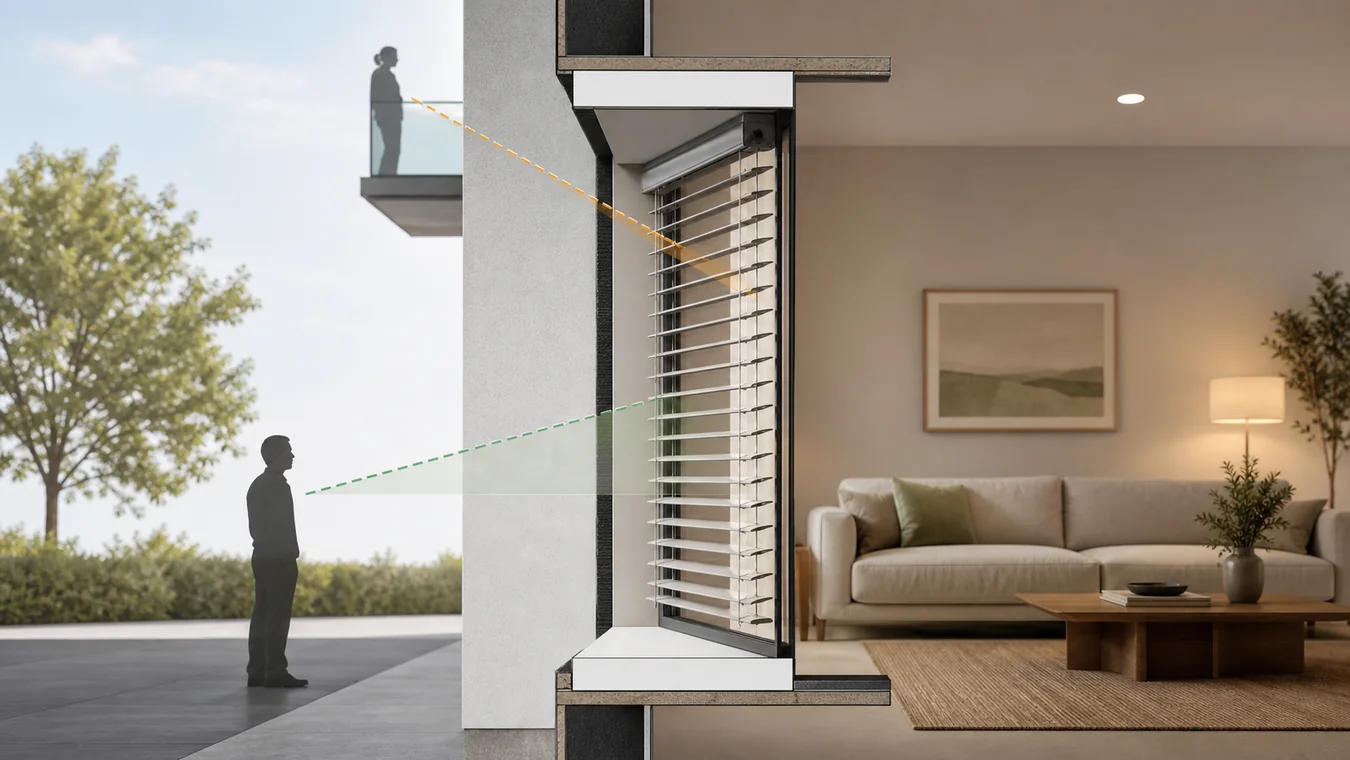
Do not memorize “up for privacy” or “down for privacy.” Tilt horizontal blinds against the sightline of the person who could see in. For a passerby below the window, start with the window-side edge of each slat higher and the room-side edge lower. For a neighbor looking down from above, reverse that position. Then check from outside; the real overlap and gaps decide the result.
At night, keep the angle that blocks the relevant view and repeat the test with the room lights on. Darkness outside makes a surviving gap easier to notice, but it does not magically reverse the physical sightline.
This guide is about horizontal Venetian, wood, faux-wood and aluminum blinds. Vertical vanes rotate left and right, while fabric shades manage privacy through material and coverage. They need different decisions.
Name the two edges before touching the wand
“Slats up” is surprisingly imprecise. One person means the rounded face points into the room; another means the far edge rises toward the glass. Slats can also be flat, curved or installed with product-specific details. That is enough to make two confident web answers sound opposite even when the writers picture different geometry.
Use two terms instead:
- Window-side edge: the long edge closest to the glass.
- Room-side edge: the long edge closest to you.
The tilter is the wand, cord or compatible motor mechanism that changes this angle. Hunter Douglas describes the horizontal-blind tilter as the part that adjusts light and privacy by rotating the slats open or closed. The mechanism fact is general; the private direction still depends on the observer.
If the window’s privacy job is not yet clear—daytime screening, lit-night privacy, glare or sleep darkness—set that job first with the room-by-room smart-shade planner. One tilt should not be asked to solve four different problems.
Match the tilt to the person who could see in
Start from the most likely outdoor viewing position. The table gives a first setup, not a promise.
| Outside risk position | Starting slat position | Why it is the stronger start | What must still be checked |
|---|---|---|---|
| Sidewalk, yard or lower floor below the window | Window-side edge higher; room-side edge lower | The slat plane crosses a line of sight rising from outside into the room. | View from normal standing height and from the closest plausible point. |
| Neighbor or walkway near the same height | Close until the slats overlap, test one direction, then reverse. | When the view is nearly level, overlap and the exact gap pattern may matter more than the direction label. | Center, left and right views; any worn or misaligned section. |
| Balcony, hill or upper floor above the window | Room-side edge higher; window-side edge lower | The slat plane crosses a line of sight descending into the room. | The actual elevated position, not a guess from inside. |
| Real observers both below and above | Neither direction is accepted without a test. | Improving one oblique sightline can weaken the opposite one. | Both positions; if either fails, use a different privacy mechanism. |
Notice what the table does not say. It does not assign one position to “day” and the opposite position to “night.” Light level changes contrast. Observer height changes geometry.
It also does not treat “closed” as a single state. Some blinds overlap more tightly in one direction; some have route holes; some slats twist or bow. Two windows with apparently identical blinds can finish differently.
Do the 60-second outside test
Use the exact room condition you care about. If the concern is evening privacy, turn on the lamps normally used in that room. Put a high-contrast object—such as a dark chair back against a light wall—at the height or zone you want hidden. There is no need to expose a person for the test.
- Lower the blind completely. Set the slats in the starting position from the table and close them only to the normal stop; do not force the tilter.
- Go to the real outside viewing point. Check from ordinary eye height, then one step left and right. For an elevated position you cannot reach safely, ask a trusted person there or place a camera safely at that height. Do not lean from a window or climb for the test.
- Record what is visible: a clear room view, a narrow strip between slats, points of light at route holes, or only diffuse light with no usable view.
- Reverse the slats fully and repeat from the same positions. Choose the setting with the weaker view, not the setting that looks more closed from inside.
- Repeat after dark with normal interior lighting. A daytime reflection can hide a gap that becomes obvious when the room is brighter than outdoors.
A phone photo can help you compare the two settings, but keep the lens near the observer’s eye position. A wide-angle image taken against the glass exaggerates a view that a passerby would not have; a photo from too far away can miss a close neighbor’s angle.
The result should be concrete: “window-side edge higher blocks the sidewalk view after dark, but two route holes remain visible.” That is useful. “Blinds up” is not.
A correct tilt can still leak a view
If both directions reveal the room, stop rotating the wand and locate the opening.
Route holes are not an angle problem. Traditional horizontal blinds may pass lift cords through openings in the slats. Blinds.com’s explanation of routeless wood and faux-wood blinds says that removing exposed route holes improves privacy and light blockage. That feature can reduce one leak path, but it does not certify the edges or every installed gap.
Poor overlap is a construction or condition problem. A bent slat, uneven ladder, worn tilter or slat that stops short can leave a repeating horizontal channel. Compare the suspect area with the rest of the blind. Repair guidance must match the exact product; do not force a mechanism or improvise a part.
The perimeter is a coverage problem. A private center does not close side gaps, the space below the bottom rail or a headrail opening. Inside-mount blinds often preserve visible edges because the blind must fit within the recess. If the remaining view is at the perimeter, measure the finished coverage rather than buying another blind on the same nominal width.
A silhouette may be enough to fail. Privacy does not have to mean a detailed face is visible. A bedroom, bathroom or occupied ground-floor room may fail its requirement if movement or a recognizable outline remains visible. Write the acceptance level before judging the test.
If one angle cannot cover every observer
When a sidewalk is below and an overlooking balcony is above, a single horizontal angle may be the wrong mechanism. The practical options change the covered zone rather than asking the slats for a perfect compromise.
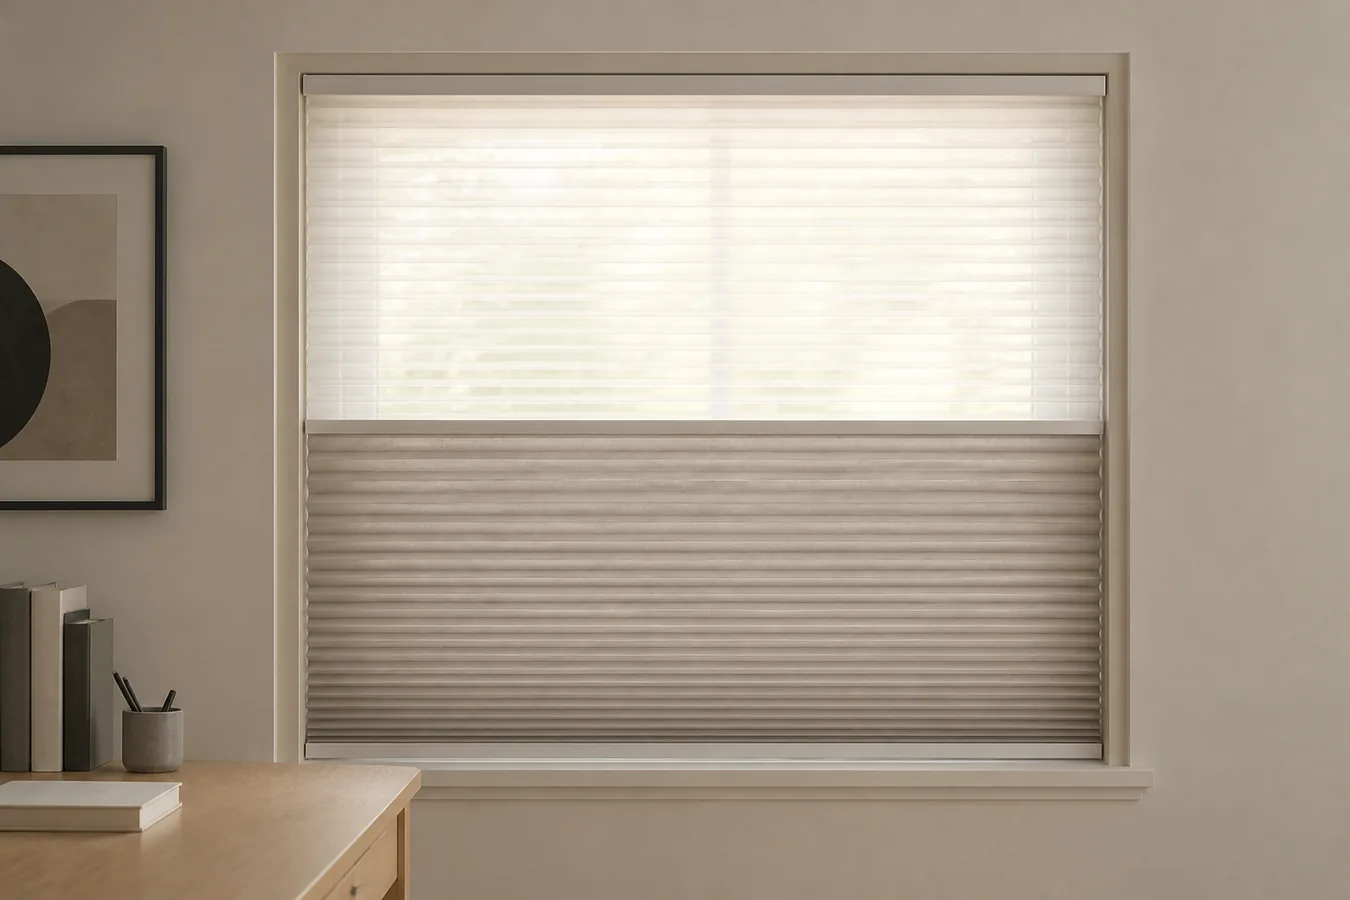
A top-down bottom-up shade can keep the lower sightline covered while admitting daylight above, provided the upper opening is not exposed to an elevated observer. An opaque shade or curtain layer can close the whole view after dark. Routeless horizontal blinds can address lift-cord holes when adjustable daylight is still valuable. If none of those states fits, compare blinds and shades by privacy, light and cleaning before replacing the existing covering.
Once a replacement or added layer is justified, record the opening, mount plane, obstructions and required finished coverage in the Smart Shade Measurement and Compatibility Checker. Do not order from the outdoor test alone; the test identifies the failed view, while the measurement plan closes the physical fit.
Keep one line beside the control: observer position — winning edge position — lighting tested — remaining gap. Retest after the blind is repaired, remounted or replaced. Privacy belongs to the finished window, not to a slogan about which way blinds should face.