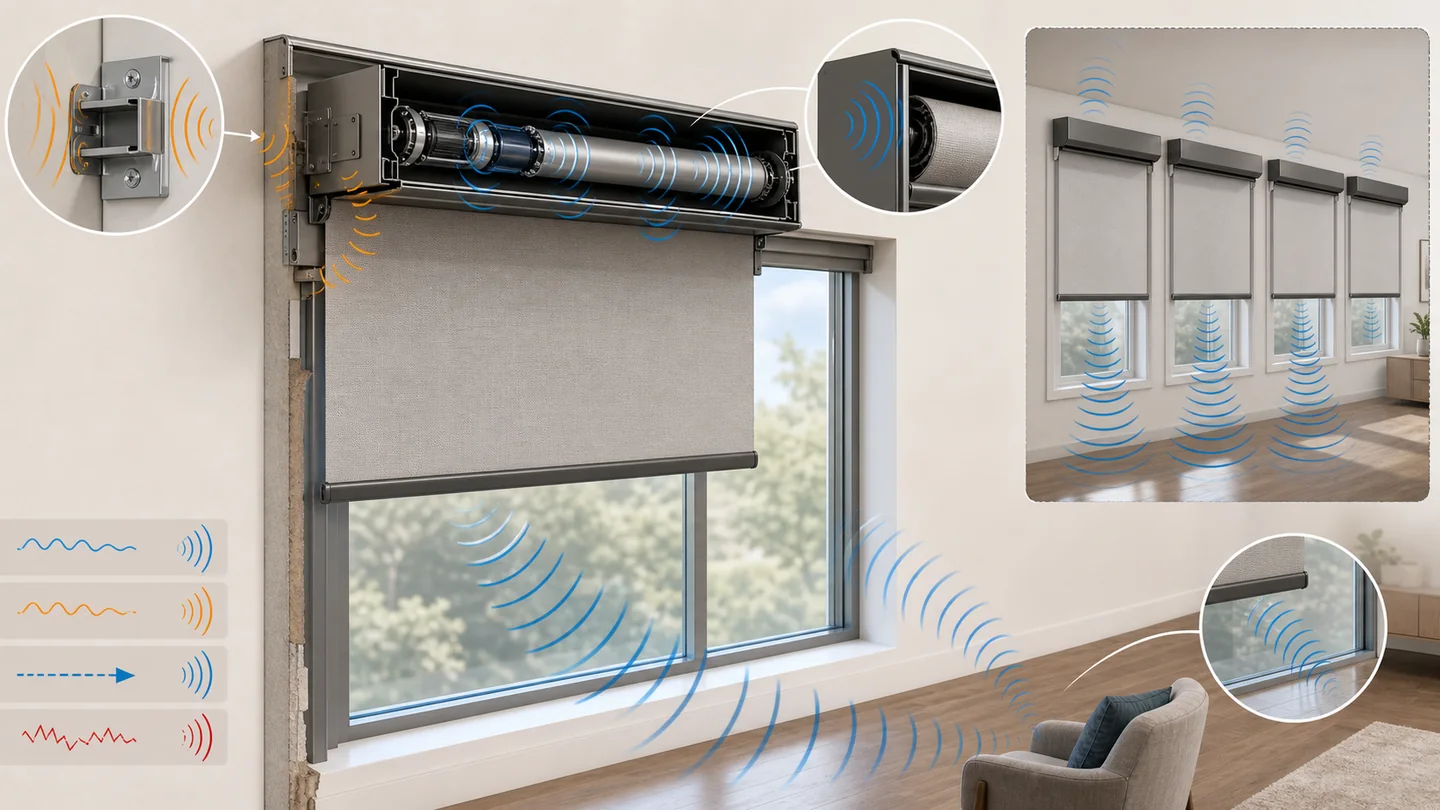
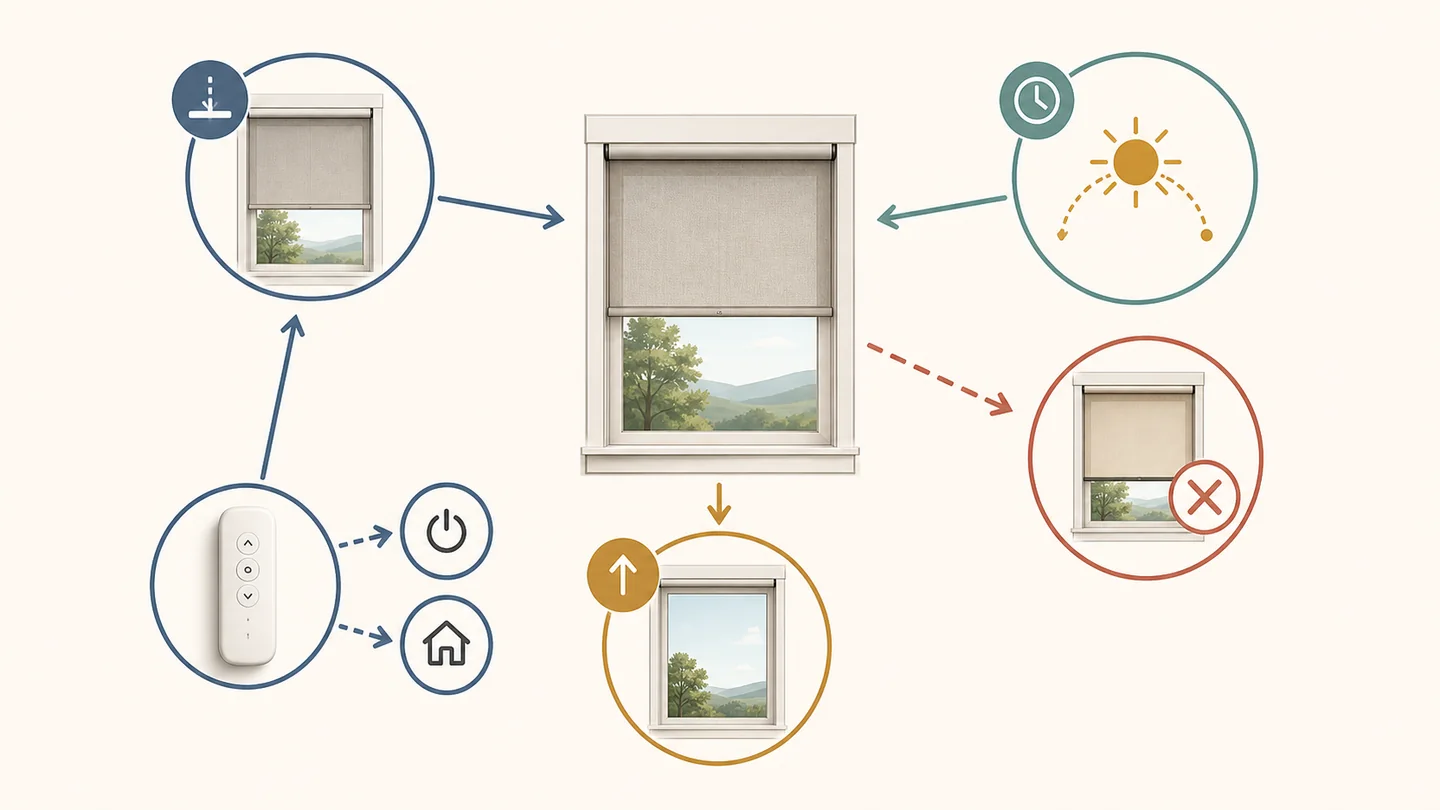
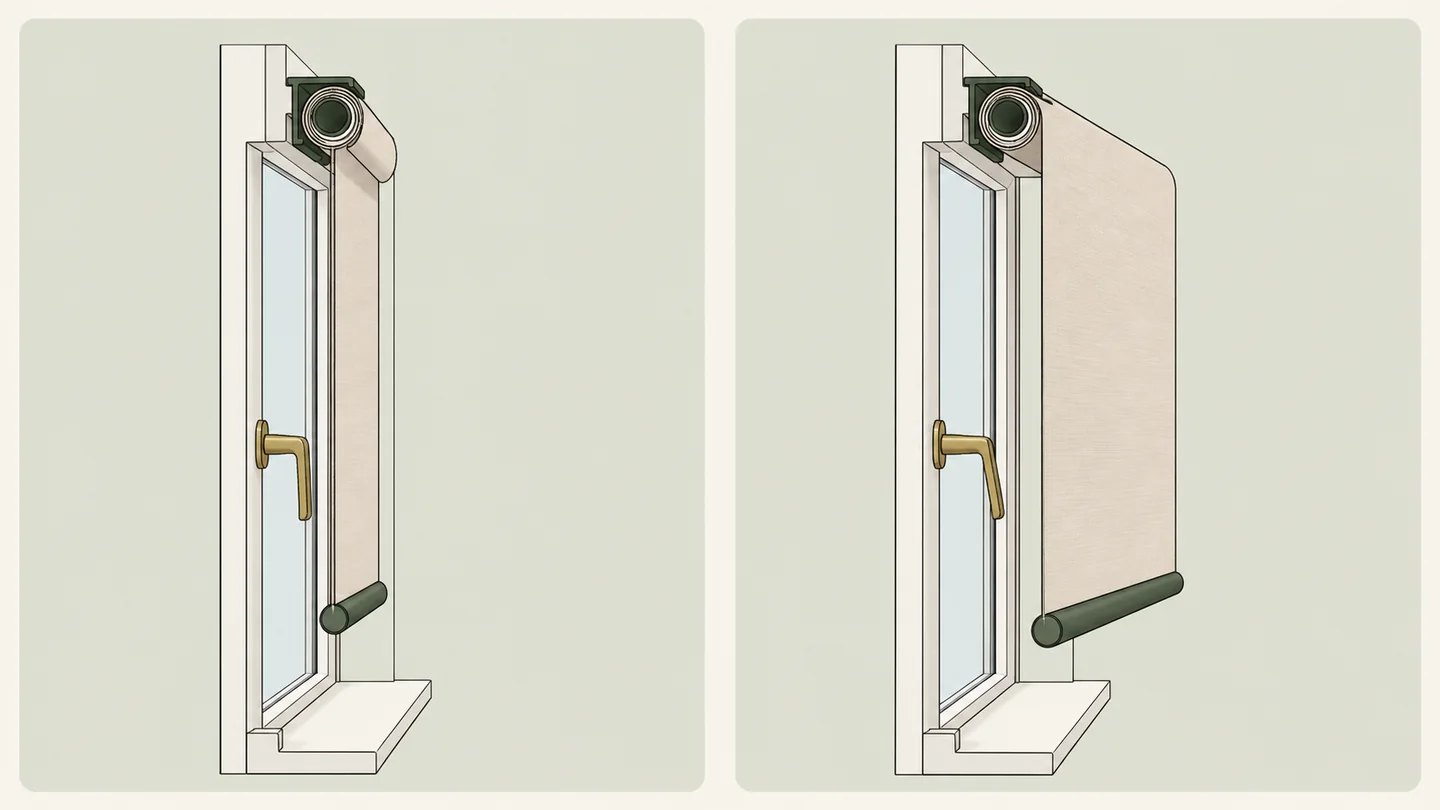
A seller can use the word valance for a short fabric treatment, a rigid cornice over a shade, or the narrow finished board clipped to a blind’s headrail. Those are not interchangeable purchases.
If the piece belongs to the blind, match the headrail and attachment before the color. If it mounts independently to the wall, measure it as a separate top treatment and preserve clearance around the blind. Until that identity is settled, a width is just a number attached to the wrong object.
This matters whether you are replacing a missing cover or ordering a new finished window. A valance can look correct from the room and still use the wrong clips, miss the returns, strike a tilt wand or block the battery you need to remove later.
First, name the top piece
Start with what supports the piece. The material is useful later; the support path tells you which product record and measuring rules control the job.
| Top piece | What supports it | What must be matched | Correct next record |
|---|---|---|---|
| Factory blind valance | The blind headrail through clips, magnets, grooves or another documented interface | Blind family, headrail, valance profile, attachment, width and returns | Blind plus valance as one finished system |
| Replacement valance or parts | The existing headrail and the surviving or replacement attachment parts | Original product identity, clip or magnet geometry, notches, corner parts and service support | Existing interface plus exact supported replacement |
| Independent cornice or fabric valance | Its own brackets, board, cleat or rod on the wall or trim | Cover width, projection, height, mounting surface and clearance around the blind | Separate top treatment layered over a working blind |
That third row explains some of the vocabulary collision. One current cornice-versus-valance explainer uses valance for a loose fabric topper and cornice for a rigid framed topper. In blind product documentation, however, valance can also mean a rigid, color-coordinated front attached directly to the headrail. Ask what carries the piece instead of trying to settle the purchase with the word alone.
A separately mounted cornice may be a valid way to cover several treatments, but it cannot borrow a blind manufacturer’s headrail clearances. A current custom cornice page explicitly treats the hardware underneath as an object to clear. Use the selected cornice’s own measuring and mounting instructions rather than a generic projection from an article.
For a blind valance, follow the attachment chain
A blind valance is not simply a decorative board of approximately the right length. Four interfaces have to close in order.
| Interface | Evidence to capture | Failure that color cannot solve |
|---|---|---|
| Headrail | Maker, collection, generation, cross-section, front lip or face, labels and installed mount | The attachment has nowhere correct to seat |
| Attachment | Clip, magnet, hook, groove or slot; orientation; quantity; spacing; markings and supported part number | The front hangs loose, sits crooked or interferes with moving parts |
| Front | Profile, finished width, height, rear notch or channel, projection and end treatment | The board cannot engage the clip or cover the intended hardware |
| Return | Left/right requirement, finished depth, miter, corner clip or key, wall gap and mount projection | The side remains open, collides with trim or stops short of the wall |
LEVOLOR’s current wood-blind automation installation guide provides one useful named-system example: its magnetic valance clips have limited projection and height adjustment, and its returns connect through corner clips. The same guide says the magnetic surface must contact the headrail cleanly. That proves an interface exists; it does not prove another blind uses the same clip or adjustment.
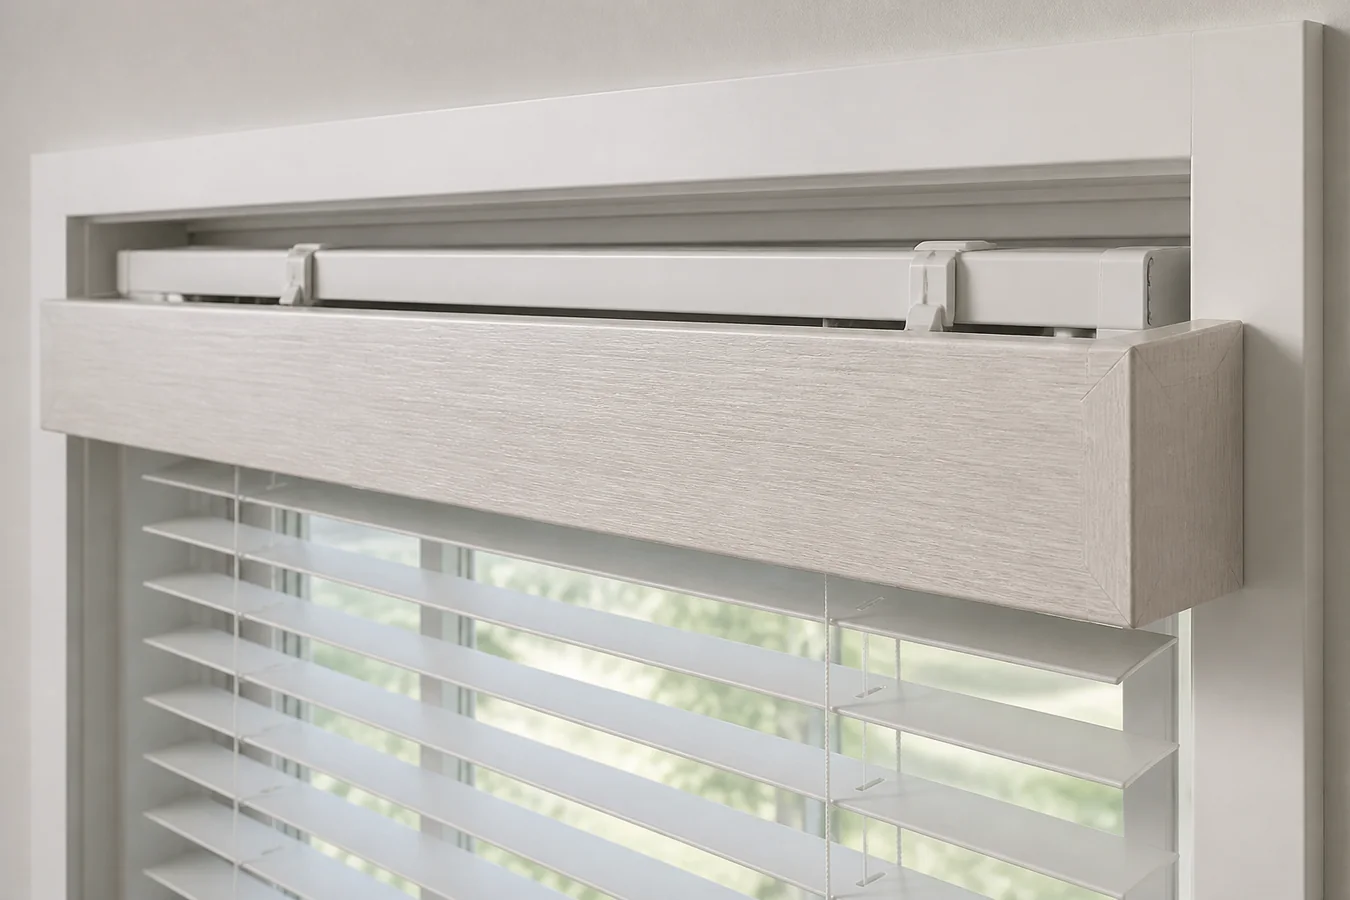
Photograph this chain before removing anything: the entire installed blind, the headrail from the front and below, one attachment from both sides, the back of the valance, and each return. Include a ruler in a separate close view without hiding the profile. If you are still identifying how the blind itself mounts, the blind mounting-bracket guide owns that hardware decision.
Depth belongs to the control system
Valance depth is not a decor-only dimension. It changes with the blind’s mount plane, the headrail’s projection and the control hardware that needs space behind or below the cover.
LEVOLOR’s current Premier wood-blind reference guide distinguishes a fully recessed inside-mount valance, an outside-mount valance with returns and a blind recessed inside the opening while the valance mounts outside. Its specified width and return treatment change across those arrangements. The dimensions belong to that collection and order condition, but the reasoning travels: record the blind plane and valance plane separately.
Bali’s current wood valance and cornice measuring guide goes further. Its return and full-recess tables vary by treatment family, valance style and, for some horizontal blinds, control type. A generic “standard return” therefore cannot close an order for an unidentified product.
Keep the untouched opening in the Smart Shade Measurement and Compatibility Checker. Then use the inside-versus-outside mount guide to decide which plane the blind can occupy. Only after those facts are stable should the exact supplier translate blind depth into a valance projection or return.
Also check the finished front width rather than assuming it equals blind width. A current Veneta replacement valance listing limits the item to named Veneta Designer and Classic faux-wood blinds and distinguishes 2-inch and 2.5-inch configurations. Its published mount requirements are evidence for that item, not a lookup table for an unknown blind.
Treat replacement as a parts-identification job
A missing clip can make an intact front piece look like a valance problem. A broken return key can make the sides fail while the headrail attachment remains correct. Split the repair into parts before shopping:
- Front retained: identify the exact attachment that engages its rear groove, slot or magnet location.
- Return retained: identify the corner key, extrusion bracket, clip or fastener that joins it to the front or headrail.
- Front missing: prove the blind family, headrail and original profile before asking a supplier to match width and finish.
- Identity lost: send the complete photo set and dimensions to the manufacturer or a specialist parts supplier; do not select by a single face-on photo.
Current Hunter Douglas horizontal-blind repair guidance separates valance clips from return clips and extrusions and points readers to model and part charts. It also documents substitute parts inside its own support system. Read “universal” in that product context, not as permission to fit the part to every headrail sold by another maker.
If the front seems to match but the blind uses a different slat and headrail configuration, compare the completed systems in the 2-inch versus 2.5-inch blind guide. Slat size alone still does not identify the clip, but it can expose that the proposed valance belongs to a different product build.
Protect the path you will need later
The best-looking cover is wrong if routine operation or service requires taking it apart blindly. With the valance temporarily positioned, trace five paths: the tilt wand or control, lift operation, power cable, battery or programming access, and the valance’s own documented release direction.
For an automated blind, battery placement can sit behind or near the headrail. LEVOLOR’s named automation guide shows battery-wand and power-cable arrangements and instructs the owner to remove the valance before releasing that blind. Another motor may put the charge port, antenna, program button or power lead elsewhere. The motorized-blind power guide owns the broader power choice; this valance record only preserves access to the exact choice already made.
If removal instructions are missing, stop before prying. Use the blind-removal guide to identify the release hardware and exact manufacturer path. A valance can be removed first on one system and use a different lock on another.
Do not confuse this removable front with an integrated roller housing. A roller-shade cassette contains or surrounds the roll and has its own bracket, fabric path and service geometry. Calling both pieces a “top cover” does not make their mounting or removal tasks equivalent.
Freeze three identities before the valance goes back up
The useful asset can live on one page, in three labeled bands. Keep it with the blind’s order record or attach it to the back of a loose valance in a protective sleeve; do not mark a visible finished face.
| Identity band | Freeze these facts | The band is incomplete when |
|---|---|---|
| Blind | Room/window ID, maker, collection, approximate order date, headrail label and cross-section, blind mount and control type | Only color, slat size or a generic treatment name survives |
| Attachment | Front valance profile and dimensions, clip or magnet part, rear groove or notch, left/right returns and corner parts | The front looks right but the joining geometry or part scope is inferred |
| Access | Wall or trim gap, wand/control side, battery/cable/program route, documented valance release and blind removal clearance | The cover can be installed but routine operation or service is blocked |
Add the finish name and sample code only after all three bands close. A manufacturer, dealer or parts supplier can then confirm the supported part numbers, compatible model range, included hardware and current installation guide without reconstructing the window from cropped photos.
The record should land in one of six states: reinstall the documented existing set; replace exact clips or return parts; order the factory-matched valance; specify a separate cornice or fabric valance with its own support; leave the blind uncovered; or hold the purchase until the headrail and clearance are identified.
That hold is the useful edge of the record. It is where an attractive board stops pretending to be a compatible blind valance.