Before choosing blinds for a very large window, draw a vertical line on the glass where you would be willing to see a fabric edge. If no line is acceptable, one shade must be proven for the exact width, height, fabric, tube, drive and mount—not assumed from the words “custom size.”
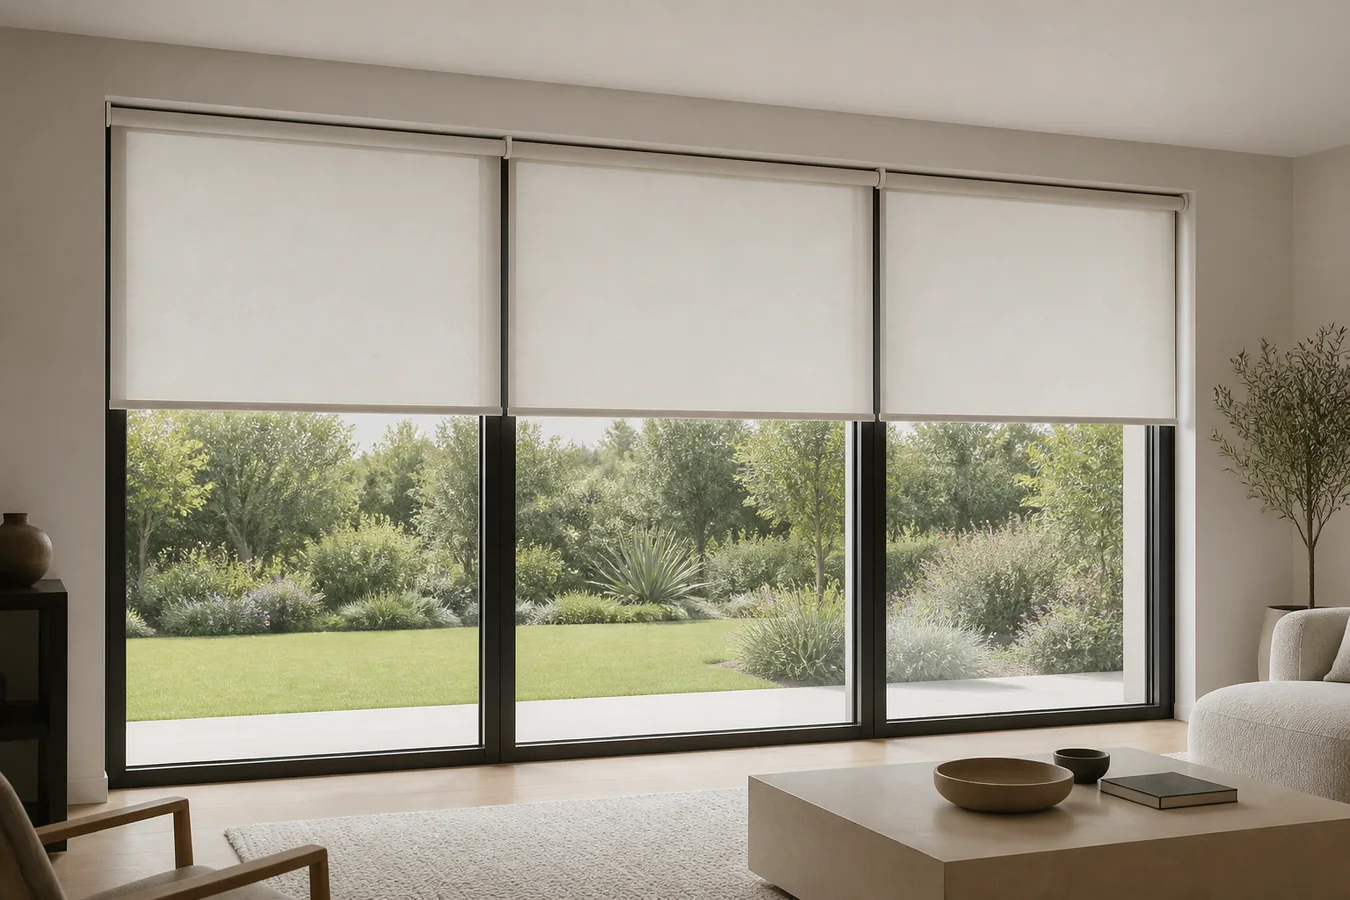
If the opening needs several panels, put their boundaries on real mullions, frame divisions or deliberate view zones whenever possible. Then assign the finished gap, drive, power and service path for every panel. A row of shades that shares one button is not necessarily one coupled mechanism.
Put the split lines on the glass before you name a product
Photograph the whole opening straight on and make a simple front elevation. Show the outer frame, every vertical mullion, glass width, planned bracket line, important view area and any place where nighttime privacy matters. Label each possible split A, B and C. Do this before a seller turns the project into a product list.
| Map layer | What belongs on the elevation | Decision it controls | Reject or hold when |
|---|---|---|---|
| Opening | Overall frame, individual glass bays and every fixed mullion | Where a boundary can follow the building instead of crossing open glass | The drawing shows only one overall width |
| Shade envelope | Bracket-to-bracket or cassette width for each proposed panel | Whether the exact hardware fits without collisions or unsupported overhang | “Custom” replaces an exact finished dimension |
| Fabric edge | Left and right fabric edge of every panel | The visible line, privacy gap and glare path the room will actually get | Only headrail edges are shown |
| Drive | Motor or manual control end for each panel; coupled or independent architecture | Motor count, alignment behavior, control grouping and fault isolation | “Synchronized” is the only description |
| Power | Feed, battery or charge point, cable route and accessible local control | Whether the planned panel can be powered and recovered in place | Power is deferred until installation day |
| Service | Removal direction, access to the drive end and accountable service party | Whether a failed or depleted unit can leave the opening without dismantling its neighbors | The finished ceiling, trim or adjacent panel blocks access |
This is a split-line ownership map, not an order form. It identifies what the supplier’s finished drawing must resolve. Order dimensions still come from the selected manufacturer’s current method and the party accepting measurement responsibility.
If the opening is a moving patio or sliding door, start with the sliding-door and large-opening guide because passage and open stack can dominate the decision. For a fixed wide window, the split itself can take priority.
A one-piece answer has to survive the exact size table
There is no useful market-wide number at which every blind becomes “too wide.” The limit changes with construction and with the exact combination inside a product family. A width that works in one fabric or height may not be approved in another.
For example, Lutron’s current Sivoia QS Roller 300 page lists individual shade widths from 26.5 to 176 inches and explicitly says the available range varies by fabric and height. The same page describes a Wide Intelligent Drive Roller tube intended to manage tube deflection in its supported configurations. Those facts prove that width, fabric, height, tube and drive are one configuration decision; 176 inches is not a universal maximum for roller shades or for the market.
For any proposed single shade, ask the seller to identify the exact product line, fabric, finished height, tube or headrail, drive, mount and approved finished width on the quote. If a configurator or engineering review is required, retain its result with the order. A room rendering or a collection-level web page is not the approval.
One panel can be attractive because it removes center fabric gaps and keeps the visual field simple. It can also concentrate the entire opening in one operating unit. Do not turn either observation into a winner. Let the exact approval and the room’s tolerance for seams decide whether one panel remains in contention.
If several covering families are still plausible, compare them with the motorized shade-type guide before asking which one can reach the span. Product type comes after the opening has stated what the covering must do.
Hide seams inside the architecture, not in the view
When one verified panel is unavailable or undesirable, the cleanest first candidate is usually a split over a stable mullion. The frame already creates a vertical line, so a nearby fabric boundary is less likely to feel arbitrary. It can also allow each shade to correspond to a real glass bay.
“Over the mullion” still needs a finished drawing. The bracket or cassette may be wider than the fabric. The two neighboring fabric edges may leave a gap whose center does not land on the mullion. A drive end, end cap or bracket can also push one panel off the intended line. Ask for both the hardware edges and fabric edges, not a set of nominal panel widths.
If the opening has no mullions, rank possible split zones by what they interrupt. A seam through a wall return or furniture division may be tolerable. A seam through the primary seated view, a television-reflection path or a nighttime privacy sightline may not be. Mark the room position from which each line will be judged; a split that disappears from the doorway can be obvious from the sofa.
Do not divide the opening into equal widths merely to make the arithmetic tidy. Equal panels can put a gap in the most important part of the view. Unequal panels may fit the architecture better, but they still need product approval and a control plan that makes their different sizes deliberate.
Coupled is not the same as synchronized
Several panels can look like one row while using different operating architectures.
Independent shades have their own drives or manual controls. A remote, wall control or automation scene may command them together, yet each unit still has its own limits, power and service life. Small timing differences do not automatically mean the system is defective; the acceptance test must state what coordinated appearance is actually required and what the named control system supports.
A coupled system is a mechanical product configuration, not just a group name in an app. In one current example, Lutron says applicable Roller 300 configurations can couple up to six panels per layer. Its commercial-shade material describes one electronic drive unit operating coupled panels, while the manufacturer’s older QED coupled installation drawing shows why system width, fabric width, alignment and mounting details belong on exact technical drawings. These are Lutron-specific examples, not evidence that any set of wide shades can be linked after purchase.
Ask the quote to use unambiguous language: number of finished panels, number of drives, which panels are mechanically coupled, which are only grouped by control, and whether each panel can be addressed individually. If the supplier uses “linked,” “synchronized” or “single system,” have it translate that phrase into this count.
Coupling can reduce the number of drives in a supported design, but it also makes alignment and shared mechanics part of the installation. Independent drives can isolate operation and service, but add drive ends, power points and control identities. Neither architecture wins until the elevation and operating schedule are complete.
The drive ends decide whether the elevation stays clean
A neat set of fabric rectangles can conceal a crowded row of motors, feeds and removable covers. Add a small drive symbol to every panel on the elevation. Place the power feed or charging access beside it, then draw the direction in which the shade, battery component, fascia or service cover must move for maintenance.
Look for conflicts at the seams. Two neighboring drive ends may need more hardware space than two passive ends. A cable route can cross a finished mullion. A pocket or fascia can hide the mechanism but also prevent a unit from being removed independently. The mounting surface must support the exact system; this article cannot approve blocking, fasteners or electrical work from a photograph.
For a new build, this drawing can tell the appropriate trades where approved power and structure have to exist before finishes close. For a finished room, it can expose whether plug-in, battery or another supported power option leaves an acceptable visible and serviceable result. Do not let a clean product rendering replace the installed elevation.
If the window is also high or unsafe to reach, use the high-window motorized-blind guide to add charging, reset and lifetime access. Height does not merely add a remote; it changes who can reach each drive after installation.
Judge the gaps at noon and after dark
The word “blackout,” “solar” or “light filtering” describes a fabric or product option, not the finished lines between adjacent shades. A very wide opening can create several center gaps even when each panel’s material is appropriate.
Ask the supplier to mark the expected finished fabric edges on the front elevation. Then evaluate the drawing under the room condition that matters. For daytime glare, place the planned sun or bright-sky path on the glass. For nighttime privacy, stand at the relevant exterior sightline while the room is lit. For a protected view, sit in the normal chair and see whether a proposed seam crosses the focal area.
This is not a promise that a mullion hides every gap. Fabric may sit inboard of the hardware, the frame may be narrower than the resulting space, and the viewing angle can expose a line from one side. The decision is simply made before fabrication rather than discovered after installation.
If glare and outward view are the main task, the motorized-solar-shade guide explains why openness factor, color and the real sun path still need separate evidence. Changing the fabric does not repair a poorly placed split.
Ask the quote to return a finished elevation
The useful final quote is not a line that says “three custom motorized shades.” It is the annotated front elevation you started, returned with exact products.
For each panel, it should identify the product line, fabric, finished hardware width, finished fabric edges, height, tube or headrail, mount, drive end, power option and removal or service direction. Across the opening, it should identify each split line, any mechanical coupling, each control group and the expected relationship between neighboring panels. The seller or project party accepting final measurement, structural attachment and power responsibility should be named.
Keep the one-panel option on the same basis as the split option. Both drawings should solve the same opening, fabric or light task, mount and control requirement. If one option omits a required tube, feed, fascia or service condition, the price comparison is not complete.
Use the Smart Shade Measurement and Compatibility Checker to record the opening, mullions, bracket line and obstructions before the seller derives order sizes. The tool helps preserve site facts; it does not apply a generic deduction or certify a product.
Approve one very large shade only when its exact configuration is documented. Approve several panels only when every vertical line belongs to the architecture, the finished fabric gaps are accepted, and the drive, power and service path of every panel appear on the same elevation. Otherwise, hold the order at the missing line—the place where a drawing can still fix the project more cheaply than a finished blind can.