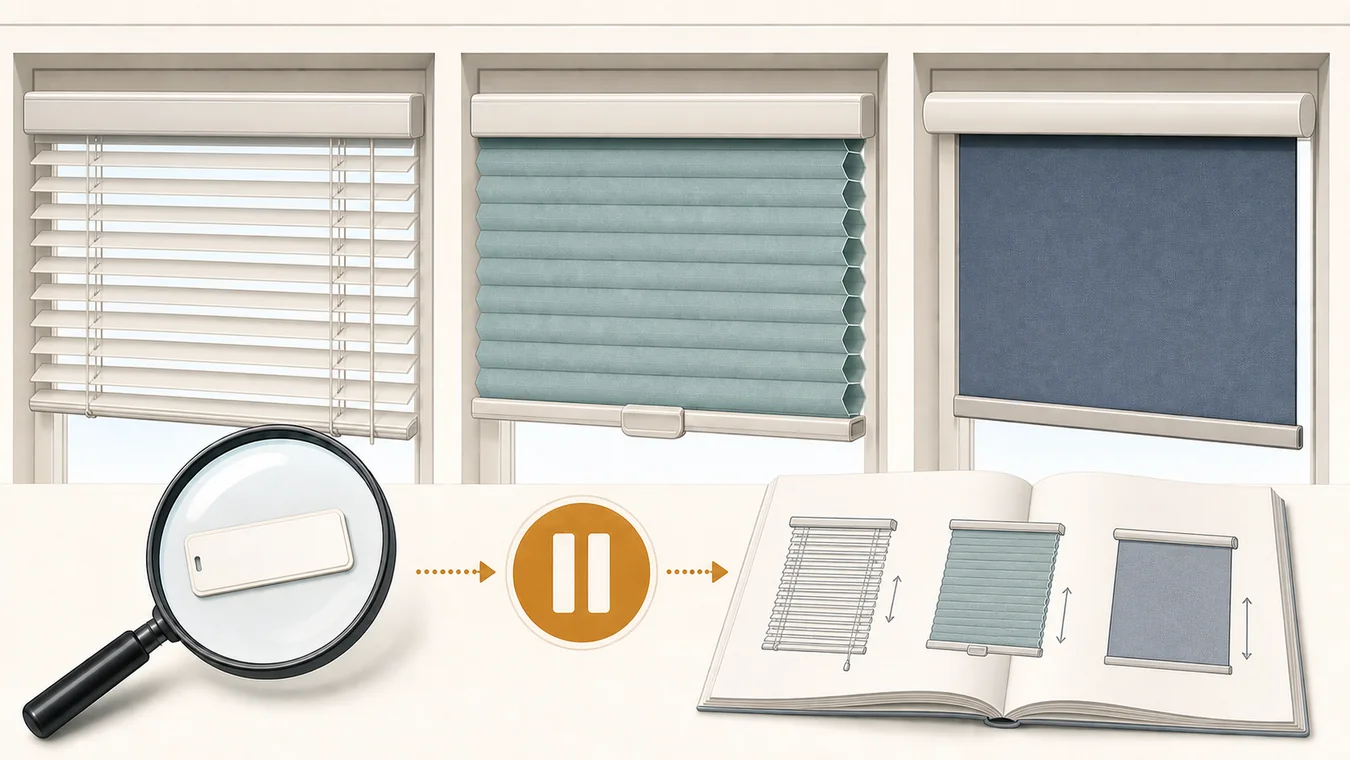
If the bottom rail will not move, do not copy the first reset video you find. “Cordless” tells you there is no exposed operating cord; it does not identify the lift or spring system inside the product. A horizontal blind, cellular shade and roller shade can all be sold as cordless while requiring different first actions.
Before pulling harder, classify the covering and find its brand, model or operating-system label. The correct next step may be a centered lift, a rail-sequence check, an installation check or no homeowner adjustment at all.
“Cordless” is not the mechanism
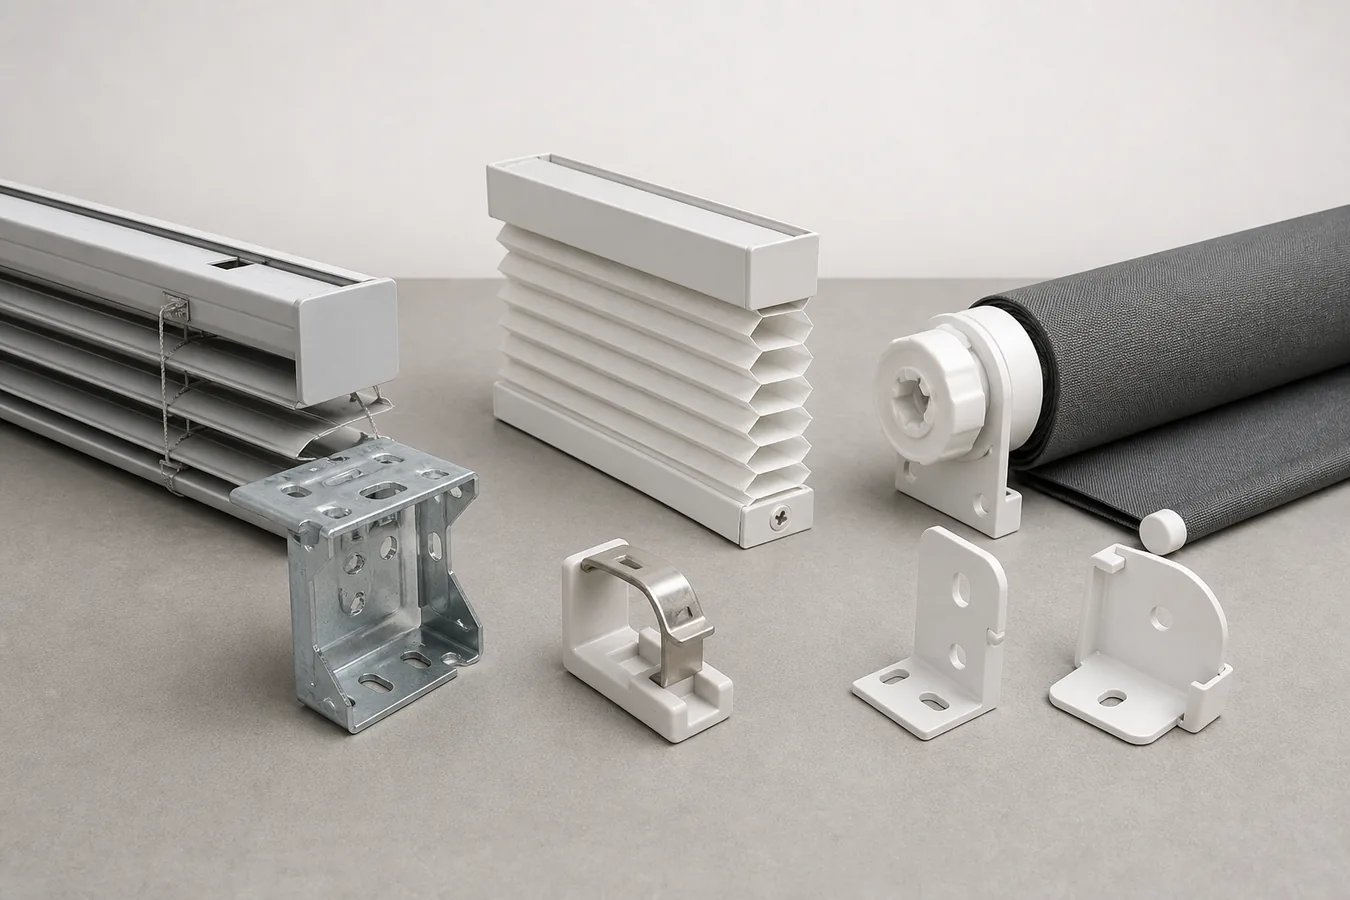
Use what you can see before guessing what is inside. Horizontal slats identify a blind; a folded honeycomb identifies a cellular shade; two movable rails may indicate a top-down/bottom-up control; fabric wrapping around a tube identifies a roller shade. A remote, app, charging lead or control button moves the product into the motorized branch.
| What you have | What is stuck | First low-risk observation | Document branch to find | Stop point |
|---|---|---|---|---|
| Horizontal slat blind | Bottom rail will not rise, lower or stay level | Check whether the rail is level and whether the headrail or brackets are visibly skewed. | Exact raise/lower troubleshooting for the brand, material and slat size | The exact guide does not authorize the next action, or operation requires opening the headrail. |
| Cellular, pleated or Roman shade | Shade will not rise, lowers unevenly or stops short | Use the installed handle at the center with even pressure; look for caught fabric or contact with hold-down hardware. | Exact operating and installation guide for that shade and control | One side remains higher, a cord path is visible, or fabric is trapped inside the headrail. |
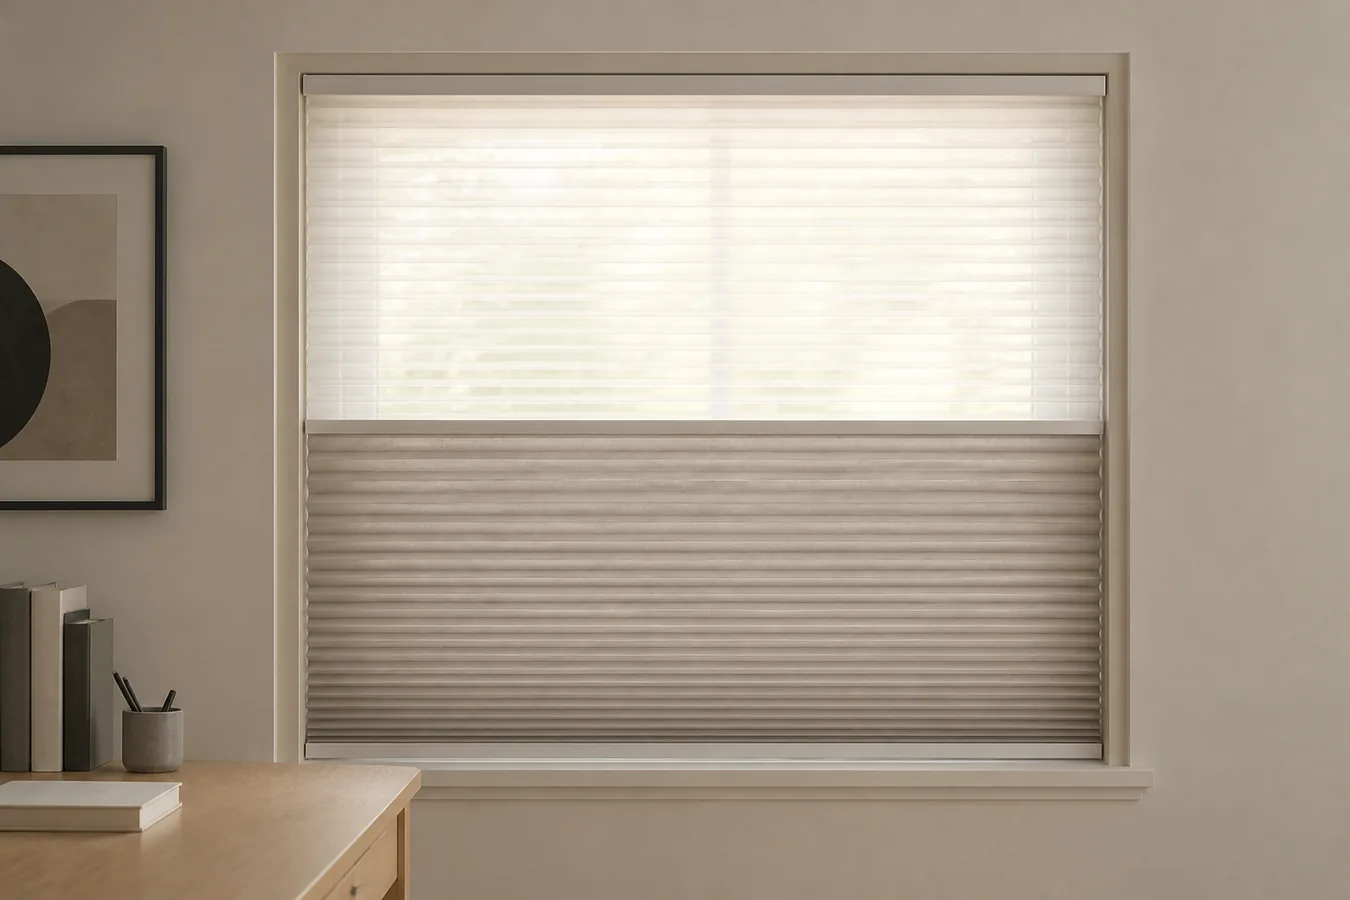
| Top-down/bottom-up cellular shade | Middle or bottom rail will not travel as expected | Identify which rail is intended to move first; do not treat the two rails as interchangeable. | TDBU operating sequence for the exact control style | The manual’s rail order is unknown or a rail twists under light, even pressure. |
| Roller or screen shade | Shade will not retract, will not stay down or resists movement | Identify the named operating system before choosing between a pull-and-release or push-up motion. | Exact spring, cordless or assisted-lift operating-system page | The system identity is missing, the tube is skewed or the guide reaches a tension adjustment. |
| Remote-, app- or battery-controlled covering | Motorized covering does not respond or move | Separate app, remote and shade-power failures without pulling the covering. | Motor, control and power troubleshooting for the exact generation | Physical movement is not explicitly authorized. |
If you have the last row, use the motorized-blind manual-fallback guide. A powered local button is not proof that the fabric or rail may be moved by hand.
Match the blind to the first documented check
The examples below show why product identity matters. Each action belongs to the cited family; it is not a reset menu for every cordless product.
Horizontal slat blind: separate installation pressure from the blind
The Bali/Springs troubleshooting sheet for 1-inch cordless horizontal aluminum blinds uses an outside-the-brackets operation test. If the named blind works when removed, the document points to bracket interference; if it still does not work, it follows a different service branch. The same sheet says not to remove the end caps.
That is a useful diagnostic boundary, not permission to dismantle an unknown headrail. Use it only when the label and document match, and have the installer or manufacturer handle removal if the blind is large, high, difficult to support or still under service coverage.
Cellular shade: centered pressure and full travel can matter
The LEVOLOR cellular-shade installation guide directs the user to operate the handles with centered, even pressure. For a shade that will not raise, its documented troubleshooting includes fully lowering the shade to help realign it before raising again. It also tells the reader to check a tight inside mount, level brackets, hold-down brackets and caught fabric.
Those details fit a cellular shade with the documented hardware. They do not prove that a horizontal blind or roller shade should be pulled through a full cycle.
Top-down/bottom-up shade: rail order is part of the control
A Blinds.com honeycomb installation document gives a specific sequence for its documented cordless top-down/bottom-up control: lower the middle rail fully before raising the shade with the bottom rail. The same document describes a gentle bottom-rail pull to reactivate the named cordless honeycomb mechanism.
Do not transfer that pull to a different TDBU product. First confirm that the document, rail layout and control style match what is installed.
Roller shade: similar appearance can hide opposite first motions
Hunter Douglas illustrates the risk clearly. Its Designer Roller and Screen Shades guidance says its spring-activated Cordless system is raised by pulling down about one inch and releasing, while LiteRise is raised by pushing up on the bottom rail. The page limits tension adjustments to LiteRise and warns that more than two turns can unwind the spring and require repair.
The useful lesson is not how to adjust a spring. It is that two products from one manufacturer can look similar while requiring different operation. If the system name is missing, stop before the tension branch.
A stuck blind can be an installation problem
A mechanism fault is not the only reason a cordless covering resists movement. Installation can add friction, twist the headrail or block the intended rail path.
- Inside mount: look for a headrail squeezed by an opening that is too tight or out of square.
- Bracket position: compare the visible bracket spacing and alignment with the exact installation diagram.
- Hold-down hardware: confirm that a bottom rail is not still captured when you expect it to rise.
- Fabric path: check for fabric or a fold caught against visible hardware without reaching inside the headrail.
- Level: use light, even pressure at the correct handle. If one side continues to lag, do not compensate by pulling harder on the other side.
Photograph the installed brackets and the symptom before changing the installation. That preserves useful evidence for the installer and makes it easier to restore the original position.
Use the manual for the system you actually own
The label may be on the back of the headrail, inside a removable battery cover, on the roller tube end, on the remote or in the original order record. Do not remove a cover merely to hunt for it; start with locations the user or installation guide identifies as accessible.
- Record the brand, product family, model or order number, approximate installation date and covering type.
- Record the controls you can see: bottom-rail handle, middle rail, wand, remote, charging lead, wall control or headrail button.
- Search the manufacturer site for the exact identity plus “operation,” “will not raise,” “troubleshooting” or “installation.”
- Match the action, direction and condition. “Pull down and release” is not the same as “push up,” and a depleted-battery fallback is not a jam repair.
- If the document stops at dealer service, send the label photo, bracket photo, symptom and actions already tried instead of improvising the next step.
A marketplace listing, reseller summary or video can help identify search terms, but the matching manufacturer document should decide which motion belongs to the product.
Stop when the diagnosis requires the headrail
Stop operating the blind when a rail twists, one side rises while the other remains fixed, a spring or loose cord becomes visible, the tube shifts in its brackets, the product makes a new grinding or snapping sound, or the next instruction would expose an internal mechanism. Also stop when a child-accessible cord, loop or damaged tension device is present; use the cordless-blind child-safety guide for that separate risk.
For support, keep one line with the photos: covering type — operating system — model or order number — exact symptom — last documented action. That is more useful than “cordless blind is broken” and reduces the chance that support sends instructions for the wrong mechanism.
When you later choose replacements or plan another room, carry the operating method and service access into the room-by-room smart-shade planner. A cordless appearance may solve an exposed-cord concern, but the mechanism, reach and fallback still need to fit the room.