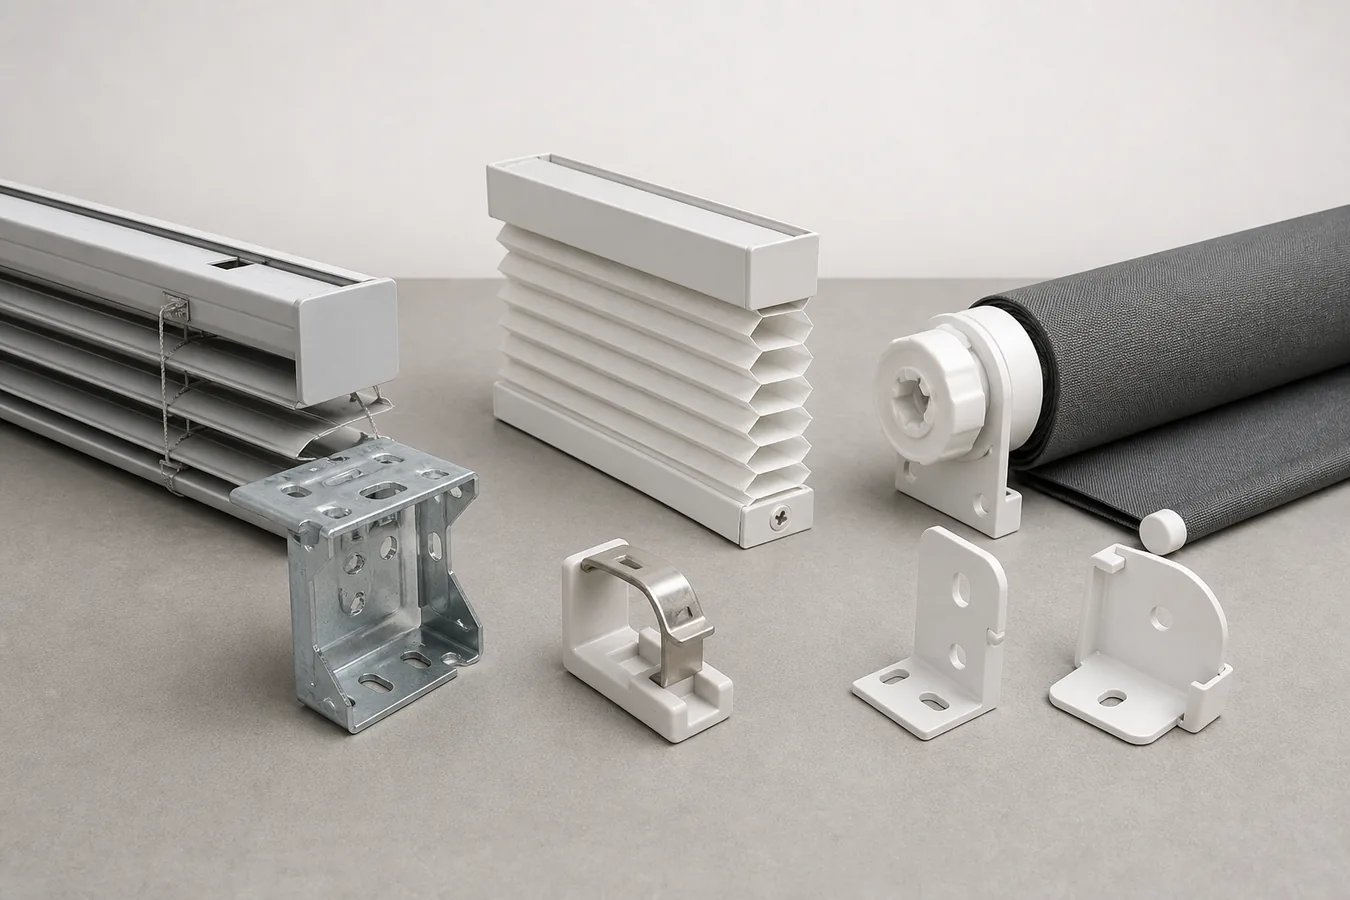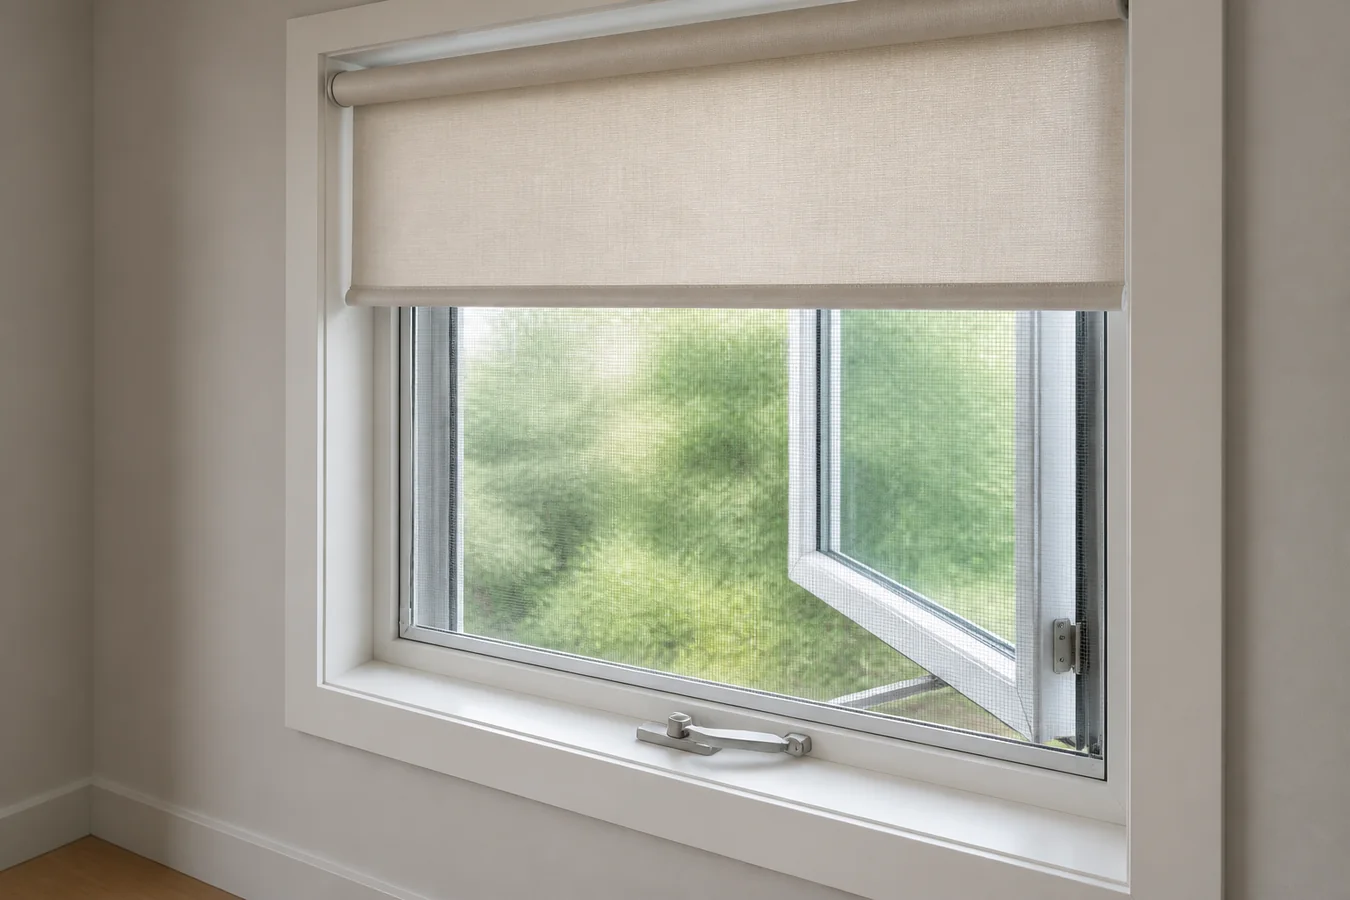
Before comparing fabrics, open the window. Unlock it, move the operator through its normal range, stop at the ventilation position you actually use, then open it as far as cleaning or screen access requires. A treatment that looks perfectly fitted while everything is closed can still trap the crank, cover a lock, block the screen or occupy the sash path.
The useful question is not “Which blind is best for casement windows?” It is “Where can this exact treatment sit while every required part of this exact window still works?” Answer that with one complete window cycle, then choose the mount.
Run the window before you shop
A casement is a small moving system. The sash has a hinged side and an opening direction. An operating arm connects the sash to its handle; locks may sit on a jamb; a screen can occupy the room side of the frame. Marvin’s current window-parts reference distinguishes the hinged side, operating arm, operating handle and screen, and notes that some casements use push-out rather than crank handles.
Operator shape is not standardized. Pella’s current Easy-Slide hardware, for example, puts a slide control on the jamb of named casement models, while its Lifestyle Series casement uses a fold-away crank and offers a retractable screen. Those are product examples, not upgrades to assume on another window. They show why “crank clearance” is too narrow a measurement field.
Run the cycle with the screen in its normal position. Record each moving or reachable part in the Smart Shade Measurement and Compatibility Checker, but keep the final product dimensions open. The tool preserves the opening, depth and obstruction record; the selected supplier still owns deductions, brackets and supported configurations.
Freeze the cycle at the points that can fail
Use one record for each opening, even when neighboring casements look identical.
| Cycle stop | Record at the window | Ask the quote to show | Hold if |
|---|---|---|---|
| Closed and locked | Hinge side, sash edge, folded operator, lock handles, screen, usable top depth and flat mounting surfaces | Finished headrail, cassette or roll location; fabric or slat plane; control side; access to every lock | The treatment appears only as a front elevation with no finished projection or hardware access |
| Unlocking and starting the sash | Hand path to each lock and the full motion of the crank, lever or slide operator | The treatment raised or moved to the exact position that permits the operation | A valance, bottom rail, fabric or slat pack crosses the hand or operator path |
| Ordinary ventilation | Sash angle you use, screen position, intended shade position and any draft-induced movement you can observe safely | Whether the exact product may remain deployed, where its bottom rail and fabric sit, and any supported restraint or operating limit | The proposal assumes the window is either fully closed or fully open and ignores the everyday stop |
| Full opening, cleaning or screen service | Widest sash position required, screen removal or retraction path and reach to serviceable window hardware | Clearance for the sash plus a way to remove or service the screen and treatment without dismantling unrelated trim | Full-open travel or removable components disappear from the drawing |
| Treatment fully deployed | Finished edges, privacy or light task, access to operator and locks, and whether the window is closed or ventilating | The final fabric or slat path in every deployed state the room will use | “Fits the opening” is the only compatibility statement |
Pella’s installation instructions for a named venting casement explicitly check unlock, open, close and lock operation, and show that a fold-away crank changes position. Your window may use different hardware, but the discipline is transferable: every required action needs an observable place in the record.
Choose the mount from the collision
The cycle usually exposes one dominant conflict. Let that conflict eliminate mounts before appearance breaks the tie.
Inside mount needs more than visible recess depth
An inside-mounted treatment needs a secure mounting surface at the top, but the remaining space below also has to preserve the screen, locks and operator. A shallow bracket is not enough if the bottom rail travels through the crank or if the screen cannot come out after installation.
Blinds.com’s current casement guide notes that these windows often have little mounting depth and room-side screens. It treats shallow-bracket cellular or roller configurations as possible only when the opening and screen arrangement allow them. That conditional language is the part worth keeping. Obtain the exact bracket and finished headrail drawing; do not transfer a depth from another product family.
If both inside and outside mounting still survive, use the inside-versus-outside mount guide to compare coverage, projection and mounting surface. This page only decides which of those paths remains compatible with the casement’s movement.
Outside mount trades recess pressure for projection
Moving the headrail to trim or wall can clear a shallow recess and leave the room-side screen alone. It also creates a new side-view problem: the shade must project far enough to clear the proudest crank, lock or trim, while the fabric or slats still land where coverage is needed.
Some current seller configurations offer spacer blocks, extension frames, waterfall Roman styles or reverse-roll rollers for this purpose. These are not generic accessories. The quote must name the exact option, mounting surface and finished projection. For a roller, carry the result into the outside-mount roller-shade guide, which separates bracket width from the fabric edges and roll plane.
A side-clearing treatment can avoid the recess
Drapery or another treatment that clears to the side can leave the operator and screen exposed when open, but it needs enough lateral stack space and must stay out of the hand path. An inward-swinging sash would also need its full room-side sweep preserved. A shutter frame may look self-contained yet still crowd a crank or screen; extension-frame availability is product-specific.
This is why a treatment family is not the decision. A roller, cellular shade, Roman shade, blind, shutter or drapery can work only after its exact finished position survives the record.
The crank is only one moving part
Crank clearance is easy to photograph, so it gets most of the attention. The quieter failures happen at the screen and locks.
A fixed interior screen can consume recess depth even though it appears visually flat. A removable screen needs a release and extraction path. A retractable screen adds its own operator and housing. Record the action, not merely the word “screen.” Do the same for every lock handle; reaching behind a lowered blind several times a day is not equivalent to unobstructed access.
Grouped windows deserve separate rows. Marvin’s terminology uses operating and stationary designations for connected units, and the handing identifies the hinged side. A continuous shade across a fixed picture lite and an operating casement may be visually simple but can force both lites into one state. Separate treatments may preserve ventilation, yet add a visible split. The cycle reveals which compromise belongs to the room.
Cleaning is a position too. If exterior-glass cleaning or screen removal brings the sash or hardware farther into the accessible zone, the treatment has to leave that path available. Do not approve a permanent fascia or tightly trapped headrail from the closed-window drawing alone.
Decide what happens while air comes in
Many casement owners open the window precisely for ventilation. Decide whether the treatment will always raise first or whether it must stay partly or fully lowered while the sash is open.
If the treatment always clears before the window moves, put that sequence on the record: shade up, screen ready, lock released, sash opened. Confirm that raising it restores access without leaving a deep valance or stack in the way.
If the treatment must stay down, ask the supplier to support that exact state. The drawing should show the fabric or slats, bottom rail, screen and operator at the intended sash angle. Airflow can move a loose covering, and a restraint that works for one product or mount is not automatically available for another. Do not pin fabric against the screen or add hardware that the instructions do not support just to rescue the layout.
Privacy also changes with the sash position. A shade lowered in front of an open, screened casement may preserve the inside sightline but sacrifice airflow or move in a draft. A shade raised for ventilation may expose the room. The right answer can be a different coverage pattern, a separate privacy layer or accepting that open-window hours and private hours are different states.
Make the quote repeat your window cycle
Send the supplier photographs of the five stops and a compact record for each opening. Ask the returned quote or drawing to identify:
- the exact treatment, control and mount;
- bracket, headrail or cassette edges and finished room-side projection;
- fabric, slat, bottom-rail and stack path;
- operator, lock and screen access;
- the supported treatment position during ventilation;
- full-open, cleaning, screen-removal and treatment-service clearance;
- responsibility for final measurement, mounting structure and current installation instructions.
The supplier does not need to reproduce an architectural animation. It does need to show enough finished geometry that each stop has a credible answer.
When one stop remains blank, keep the configuration on hold. Do not cover the gap with a larger generic allowance: added projection may clear the crank but worsen coverage, appearance, stack or hand reach. Change the mount, change the treatment, or get a product-specific drawing that closes the missing movement.