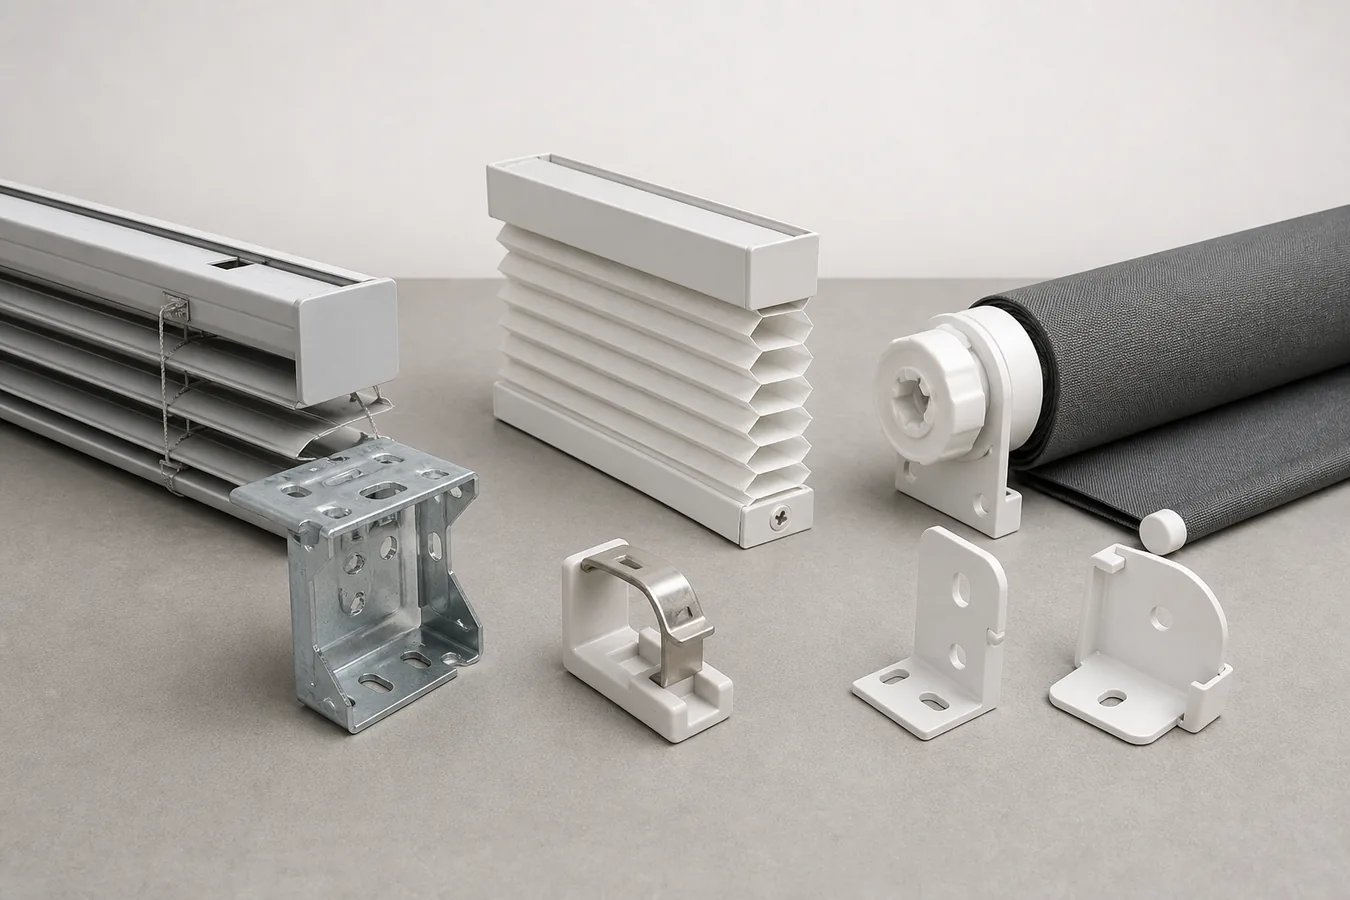
If you cannot point to the exact clip, tab, door, hook or pin that releases the headrail, do not pull harder. “Blind” can mean a horizontal headrail in end boxes, a cellular rail on spring tabs, a roller with different hardware at each end, or a long vertical track. The same-looking shove can release one and bend another.
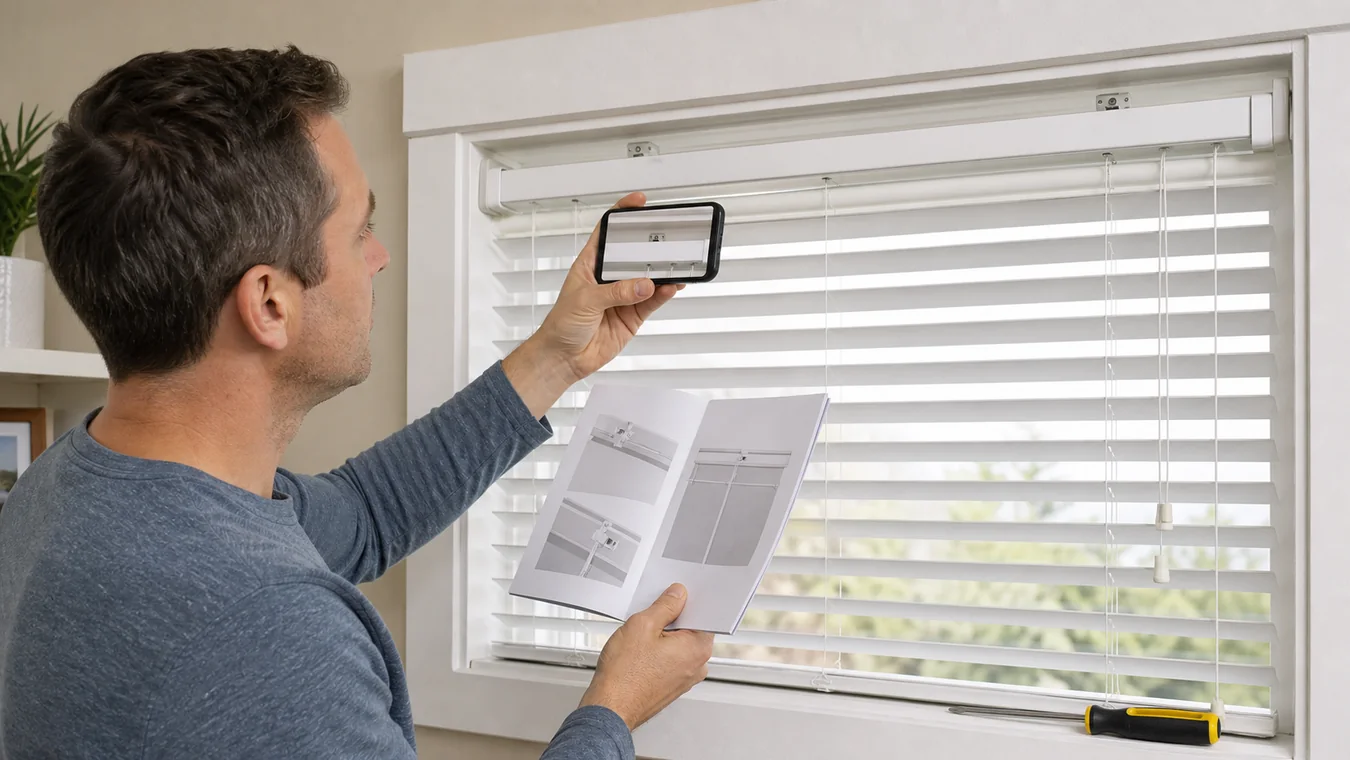
Take four clear views first: the entire treatment, the headrail-to-bracket joint from below, both end/control assemblies, and any label or order number. Find the installation or removal guide for that exact product and mount. Make the covering manageable only as that guide directs, support its weight, and release the hardware in the documented direction. Leave mounting screws alone while they are still carrying an unidentified treatment.
The headrail tells you which instructions to use
The useful question is not “What type of blind is this?” It is “What is holding this exact top assembly to the window?” Use the clues below to narrow the manual or support request. They do not grant a release movement by themselves.
| What you see at the top | Likely hardware family | What the matching instructions must show | Do not assume |
|---|---|---|---|
| A rectangular horizontal headrail ends inside box-like metal or plastic pieces | End/box brackets, sometimes with a hinged or sliding door | How each door opens, whether a center support also carries the rail, and which edge lifts out first | That a screwdriver belongs between the rail and the center of the box |
| No end boxes; several small clips disappear behind a narrow headrail | Hidden clip, snap bracket or spring tab | Exact clip location, tool contact point, release direction and product generation | That every hidden bracket releases by pushing toward the glass |
| Cellular, pleated or Roman fabric hangs from a slim rail with repeated metal tabs | Hook-and-spring headrail bracket | Required rail position, which lip stays hooked, and how the tab is depressed | That pulling the fabric or bottom rail will release the headrail |
| A roller tube or mounting bar has visibly different left and right ends | Pin/clutch end brackets, hooks or a cassette/mounting bar | Control side, idle side, inside/outside mount diagram and the first end to release | That both ends pry out the same way |
| A banded or layered shade has a cassette, lock pin or separate tensioner | Cassette lock or product-specific operating-system hardware | Whether a pin must be reinstalled, a tensioner handled, or the shade placed in a specific position | That the small leftover installation part was packaging |
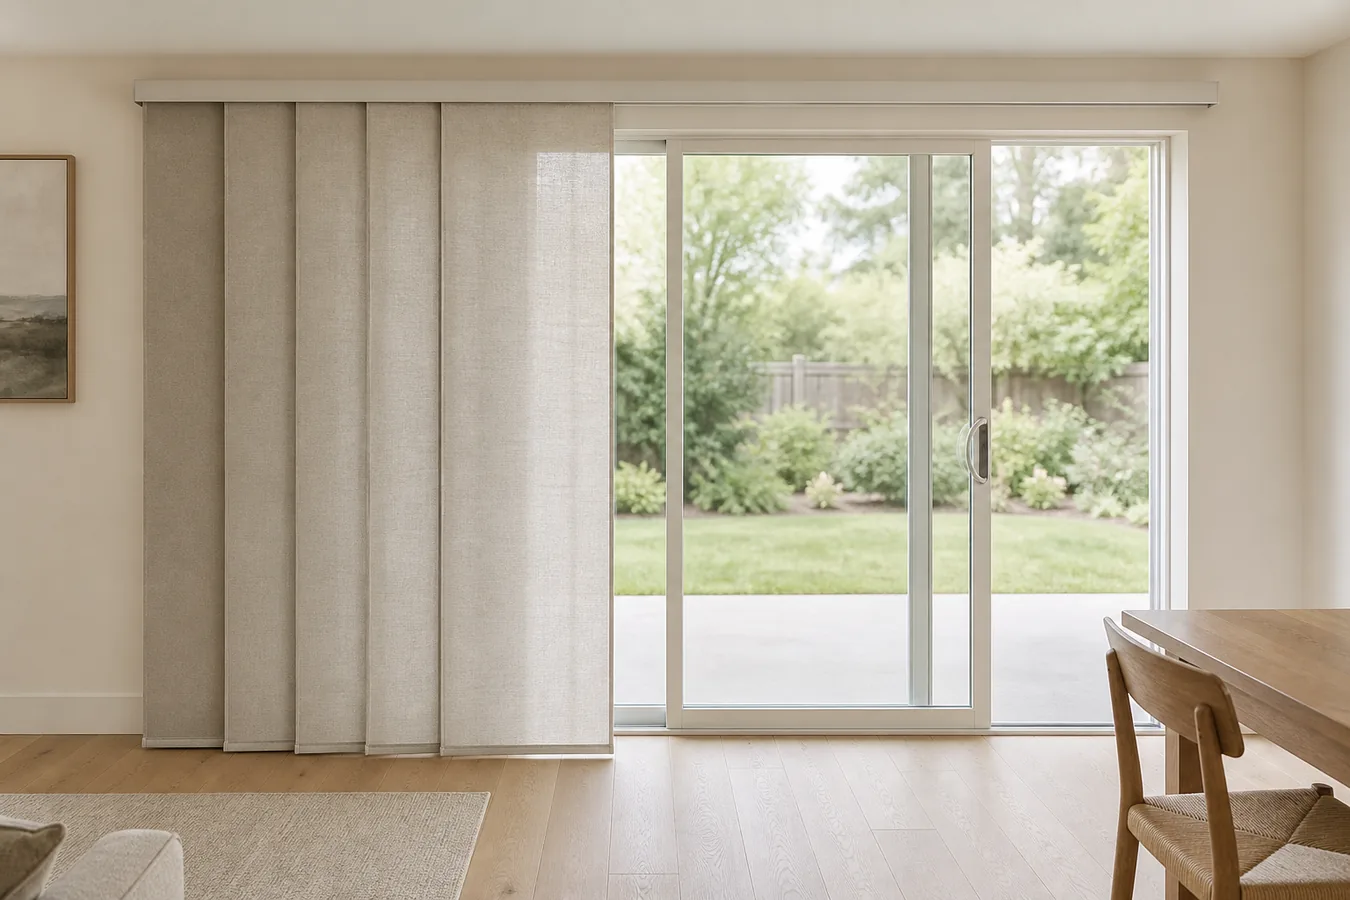
| Vanes hang from carriers under a long track | Vertical-blind track on spring clips | Whether vanes come off separately, where the rear clip sits, and how the long track is supported | That tugging the vanes will release the track |
A valance or cassette can hide the joint, but it is not automatically a snap-off cover. Photograph how it attaches and look for its instructions before prying. A painted-over clip, an extra center support or a bracket tight to the trim can also make the mechanism look simpler than it is.
Clear the joint, not the whole window
Get a clear view before you bring a screwdriver to the rail.
- Photograph the treatment fully lowered or open, then in the position the manual calls for before removal. The first photo preserves routing and orientation if you have to reinstall it.
- Photograph the bracket-to-headrail joint from below and from each side. Include the window, so inside and outside mount cannot be confused later.
- Photograph both ends, the control side, center supports, hold-down hardware, a cord tensioner, charging lead, battery or other power hardware.
- Find the label on the visible rail, order confirmation, installer paperwork or saved product page. Search the brand, product family, operating system and “installation instructions” or “removal.”
Do not start by taking screws out of the wall or frame. On most clip-mounted systems, those screws hold the brackets while the product releases from them. If your exact instructions show a screw-fixed removal instead, follow that sequence—do not infer it from a nearby bracket.
Make the covering compact only after the manual says how. Many horizontal and cellular instructions call for a fully raised treatment, while a vertical blind has vanes and a track that are handled as separate parts. A motorized or specialty product may add a lock, power or service step. Do not cut, pull or dismantle concealed wiring to get the headrail down.
Similar-looking brackets can release in opposite directions
Manufacturer instructions show why a generic “push back and rotate” video is not enough.
A hidden horizontal bracket can be generation-specific
Hunter Douglas’ current horizontal-blind repair guide covers named Parkland, EverWood and Modern Precious Metals products. Its hidden-bracket procedure applies to a style used before 2004: the screwdriver goes between the headrail and either side of the bracket, not in the middle, then turns upward while the rail is supported.
That is a precise instruction for a defined bracket, not a general rule for every “hidden” clip. If the rail, age or bracket does not match the guide, use the photos to ask the manufacturer or dealer to identify it.
A cellular spring tab has its own limit
One LEVOLOR cordless cellular manual shows a spring tab behind the headrail. Its removal sequence uses a flat screwdriver on that tab, then two controlled rail rotations, and specifically warns not to force the spring tab beyond the back of the bracket.
The lesson is not that all cellular shades rotate this way. It is that a slim rail and spring tab need the cellular guide for the exact control family. Pulling the bottom rail or fabric does not substitute for releasing the headrail.
Inside and outside mount can change one roller’s movement
LEVOLOR’s current open-roll cordless roller and solar guide uses clear tabs and hooks, but the inside-mount and outside-mount diagrams do not release in the same direction. One rotates the front edge down and back; the other rotates the bottom edge up and lifts.
Before touching a roller, identify which diagram matches the mount, where the control and idle ends are, and whether you have an open roll, cassette, fascia or another mounting bar. Similar fabric does not mean similar hardware.
A small lock pin can be part of removal
The LEVOLOR banded-shade guide tells owners of its cordless option to keep the installation lock pin and reinsert it before removing the shade. A person who throws that part away—or copies a cassette-release video that omits it—can miss a product-specific prerequisite before reaching the bracket.
Vertical vanes and the track are two jobs
Hunter Douglas’ current vertical-blind repair guidance separates removing the vanes from releasing the headrail at a rear mounting-clip tab. LEVOLOR’s vertical instructions likewise treat the long headrail as a supported assembly and recommend two people for wide windows and sliding doors.
Do not hang the track’s weight from a partly released clip or try to use a vane as a handle. If the rail is long, heavy, above stairs or beyond comfortable two-handed reach, the next move is a helper or installer—not a longer pry bar.
Keep the load in your hands, not on a loose screw
Once the product and instructions match, set up the removal around the rail’s weight.
- Clear the floor and give yourself a stable working position. Put a clean surface nearby for the treatment.
- Move the blind or shade to the exact position named in the guide. Secure loose vanes, fabric or controls only in the way the product instructions allow.
- Remove a valance, end cap, hold-down piece, tensioner or lock only if the matching guide puts it before the headrail release.
- Place one hand—or a helper—under the rail before the first loaded point is released. Long tracks and large shades need support at more than one place.
- Release the tabs, doors, hooks or pins in the order shown. As each point lets go, keep the rail aligned instead of letting it twist against the brackets that remain engaged.
- Lift, rotate or slide the assembly only in the documented direction, then place it on the prepared surface without resting weight on controls, fabric folds or a motor lead.
- Mark the room side, left/right orientation and window location before moving on. Keep product-specific pins, clips and screws with that treatment.
Only after the headrail is safely down should you decide whether the mounting brackets need to come off. Painting may require their removal; cleaning often does not. A replacement treatment may use different bracket spacing or fasteners even when its nominal width looks the same.
Resistance is new information
A correctly identified release can still feel tight. That is a reason to inspect the joint again, not proof that more force is needed.
Support the rail and check for a missed center bracket, a clip hidden behind a valance, an end door that slides instead of hinges, or a tab on the opposite side of the rail. Confirm that you are reading the inside-mount rather than outside-mount diagram. Recheck the product year, control option and cassette; a brand can use several hardware generations.
If one side has released and the other has not, bring the rail back level. Twisting a long headrail can make the remaining clip bind and can transfer the whole load to one point. Look for paint, dust or trim blocking access, but do not bend the bracket, flood it with lubricant or move the screwdriver to an unshown contact point.
Stop when the label and bracket cannot be matched, the rail starts to deform, a clip cracks, a wall fastener moves with the loaded treatment, wiring prevents supported movement, or you cannot hold the rail while operating the release. Send the four views to the manufacturer, dealer or installer and ask for the exact bracket name and removal page.
Preserve what the next job needs
If the blind is going back up, photograph every bracket before removing it and label the hardware by window. Do not mix center supports, spacers, hold-down pieces or lock pins between treatments. Reinstallation is complete only when the exact guide’s engagement check passes; a click from one bracket does not prove that every bracket is seated.
If the reason for removal is dirt inside a honeycomb or a stain, check the cellular-shade cleaning guide first. Many surface and cell-interior jobs can be handled in place, while wet methods still depend on the exact fabric.
If the treatment is being replaced, do not convert the old headrail width into a new order size. Record the bare opening, trim, depth and obstructions with the measurement checker, then use the inside-versus-outside mount guide to decide where the new hardware should live. Keep the old treatment and its labeled hardware intact until the new measurement and mounting plan are settled.